


Hiking the Annie’s Canyon Trail via Solana Hills (San Elijo Lagoon), California
Distance: 2.0 - 2.4 miles / 3.2 - 3.9 km
Named in honor of a local Solana Beach resident who played a pivotal role in acquiring the land for the trail, Annie’s Canyon has since become one of San Diego’s most beautiful and popular day hikes!
That said, the true Annie’s Canyon Trail is no more than a 0.25 miles (0.4 km) long. However, the reason why the distance above is so variable is because there is no drive-up trailhead for Annie’s Canyon. By this, I mean that the hike either begins from the Solana Hills or North Rios Trailhead, which are the shortest and two most popular routes.
In any case, after completing the short Annie’s Canyon Trail, it’s easy enough to turn directly back to either trailhead, but I recommend continuing along the Gemma Parks Loop, as the entirety of the trail is very short and offers unique views along the San Elijo Lagoon when you return.
Solana Hills Trailhead Parking
Parking for the Solana Hills Trailhead is located at the very end of Solana Hills Drive in Solana Beach.
While the Solana Hills Trailhead is arguably the most popular route to hike Annie’s Canyon, finding street parking should be fairly easy, especially if you avoid hiking midday on a weekend.
Google Maps Directions: Solana Hills Trailhead
Hiking Checklist - Southern California
Here is a complete list of must-have things that you will want for any hike in Southern California.
Osprey 3L Water Bladder - The Osprey 3L water bladder is the most universal hiking and backpacking water bladder on the market, and it’s my go-to because of the slide-off seal that allows it to be quickly filled from the top. Additionally, individual parts are easily replaceable, such as the bite valve.
Blister / Heel Protectors - I swear by these cheap, amazing heel protectors to prevent blisters for nearly every kind of hiking and backpacking that I do!
Black Diamond Headlamp - Personally, I recommend the Black Diamond Storm because it is one of the brightest, lightest, and longest-lasting headlamps on the market—and trust me, the weight-to-battery-life ratio really does matter!
Hiking / Trail Running Shoes - Depending on the type of trail, I prefer to use either the Keen Targhee for longer, more rugged hiking or the HOKA Zinal Trail-Running Shoe for lighter, less intense trails. In either case, both have been amazing to me for many years across countless environments, and both can be found in men’s and women’s sizes. - (Men’s Keen / Women’s Keen) (Men’s HOKA / Women’s HOKA)
Waterproof Rain Shell - You never know when it may rain, and I’ve learned over the years that a rain shell is far better than a rain jacket. By this, I mean that it’s best to have something that the water will roll right off of, which is why I recommend the Patagonia Torrentshell 3L available in both men’s and women’s sizes.
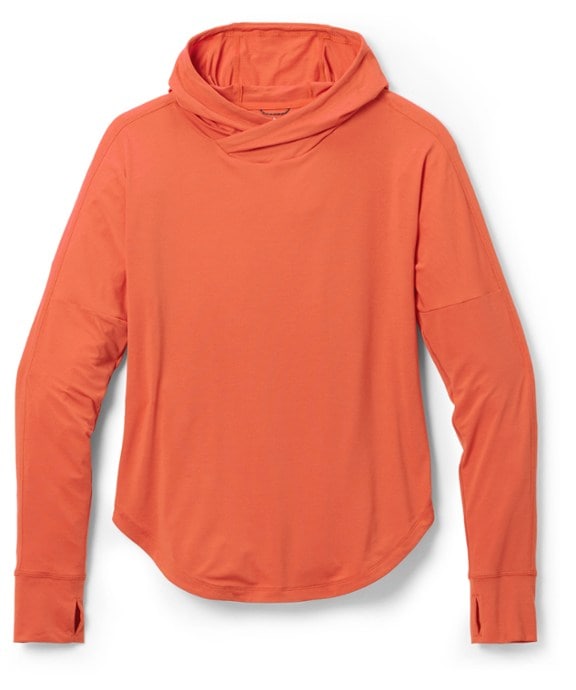
Sun Shirt w/ Hood - A quality sun shirt can be your best friend on a trail with minimal shade, which can be found in both men’s and women’s sizes.
High SPF Sunscreen - Packing high-SPF sunscreen is a must for long days outside!


Hiking the Annie’s Canyon Trail via Solana Hills
The Solana Hills Trail begins just after the parking area at the very end of Solana Hills Drive.
Here, the trail will go up and down a number of hills before reaching the Rios Avenue Trail, which is the fastest route to Annie’s Canyon from this direction.
With the exception of the early morning/ late evening hours, such as photos that you see here, there isn’t a lot of shade on the Solana Hills/ Annie’s Canyon Trail, which is why I recommend hiking with a long-sleeved hooded sun shirt, like the ones shown below.
Solana Hills-North Coast Junction
Once at the North Coast Bike Trail, keep straight to continue toward Annie’s Canyon.
Rios Avenue Junction (Annie’s Canyon)
Then, where the Solana Hills Trail splits again, go left on the Rios Avenue Trail to reach Annie’s Canyon, located only 0.3 miles (0.5 km) ahead.
Go left at this short connector trail that leads back to the Solana Hills Trail.
Rios Avenue-Gemma Parks Loop Junction
This is the last junction before reaching Annie’s Canyon, which happens to be the route I recommend returning on after completing the slot canyon.
Here, go left once again, and Annie’s Canyon will be shortly ahead.
Annie’s Canyon Junction
After 0.7 miles (1.1 km), Annie’s Canyon branches to the left into its own short 0.25-mile (0.4 km) loop trail, which is truly the highlight of the entire hike around the lagoon!
Annie’s Canyon (One Way)
Once you come to the split for either the lookout or Annie’s Slot Canyon, it’s important to decide if you’re comfortable hiking in such a narrow canyon, with numerous sets of ladders to climb at the very end.
I say this because Annie’s Canyon is treated as a one-way hike, meaning that it’s not ethical to downclimb through the canyon, as it’s just too narrow in parts for hiking groups to be passing one another.
In any case, go right if you choose to hike through Annie’s Canyon.
Within Annie’s Canyon, there should be numerous signs to keep you from following false routes.

Annie’s Canyon Trail
This short section is the narrowest part of Annie’s Canyon.
At the very end of Annie’s Canyon, the trail climbs a few sets of ladders to reach the lookout trail that comes up from the other direction.
Annie’s Canyon Lookout
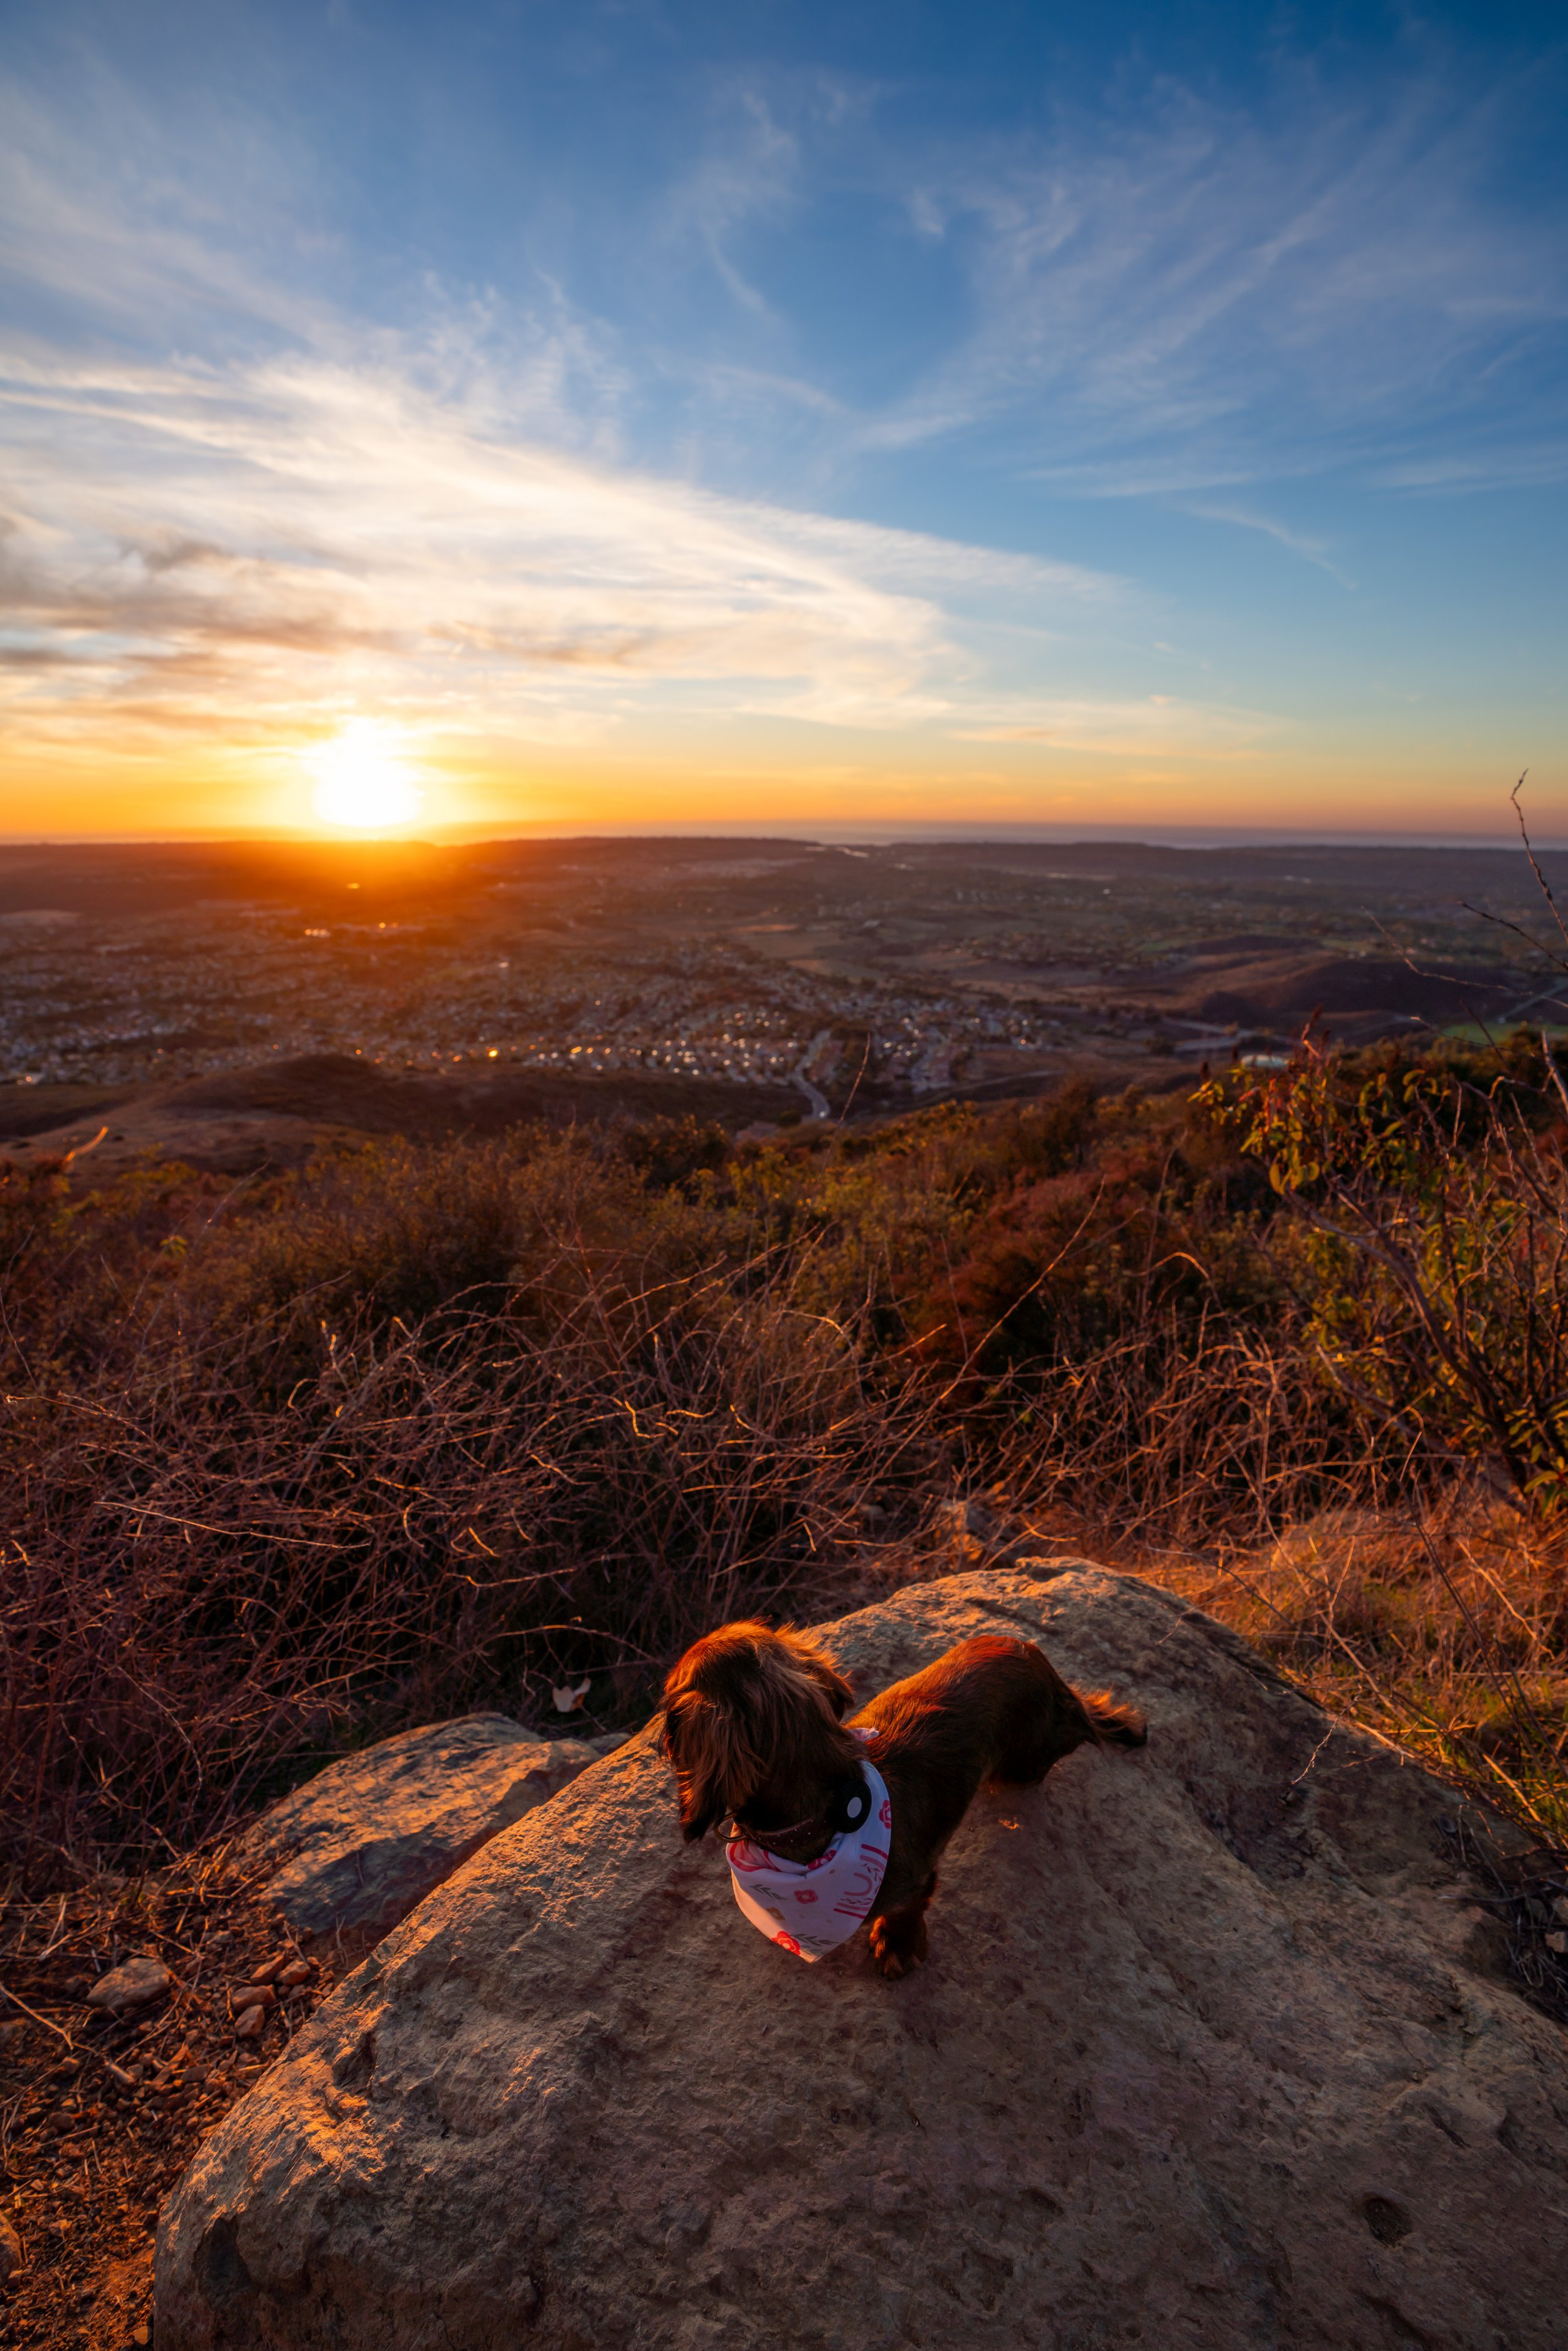
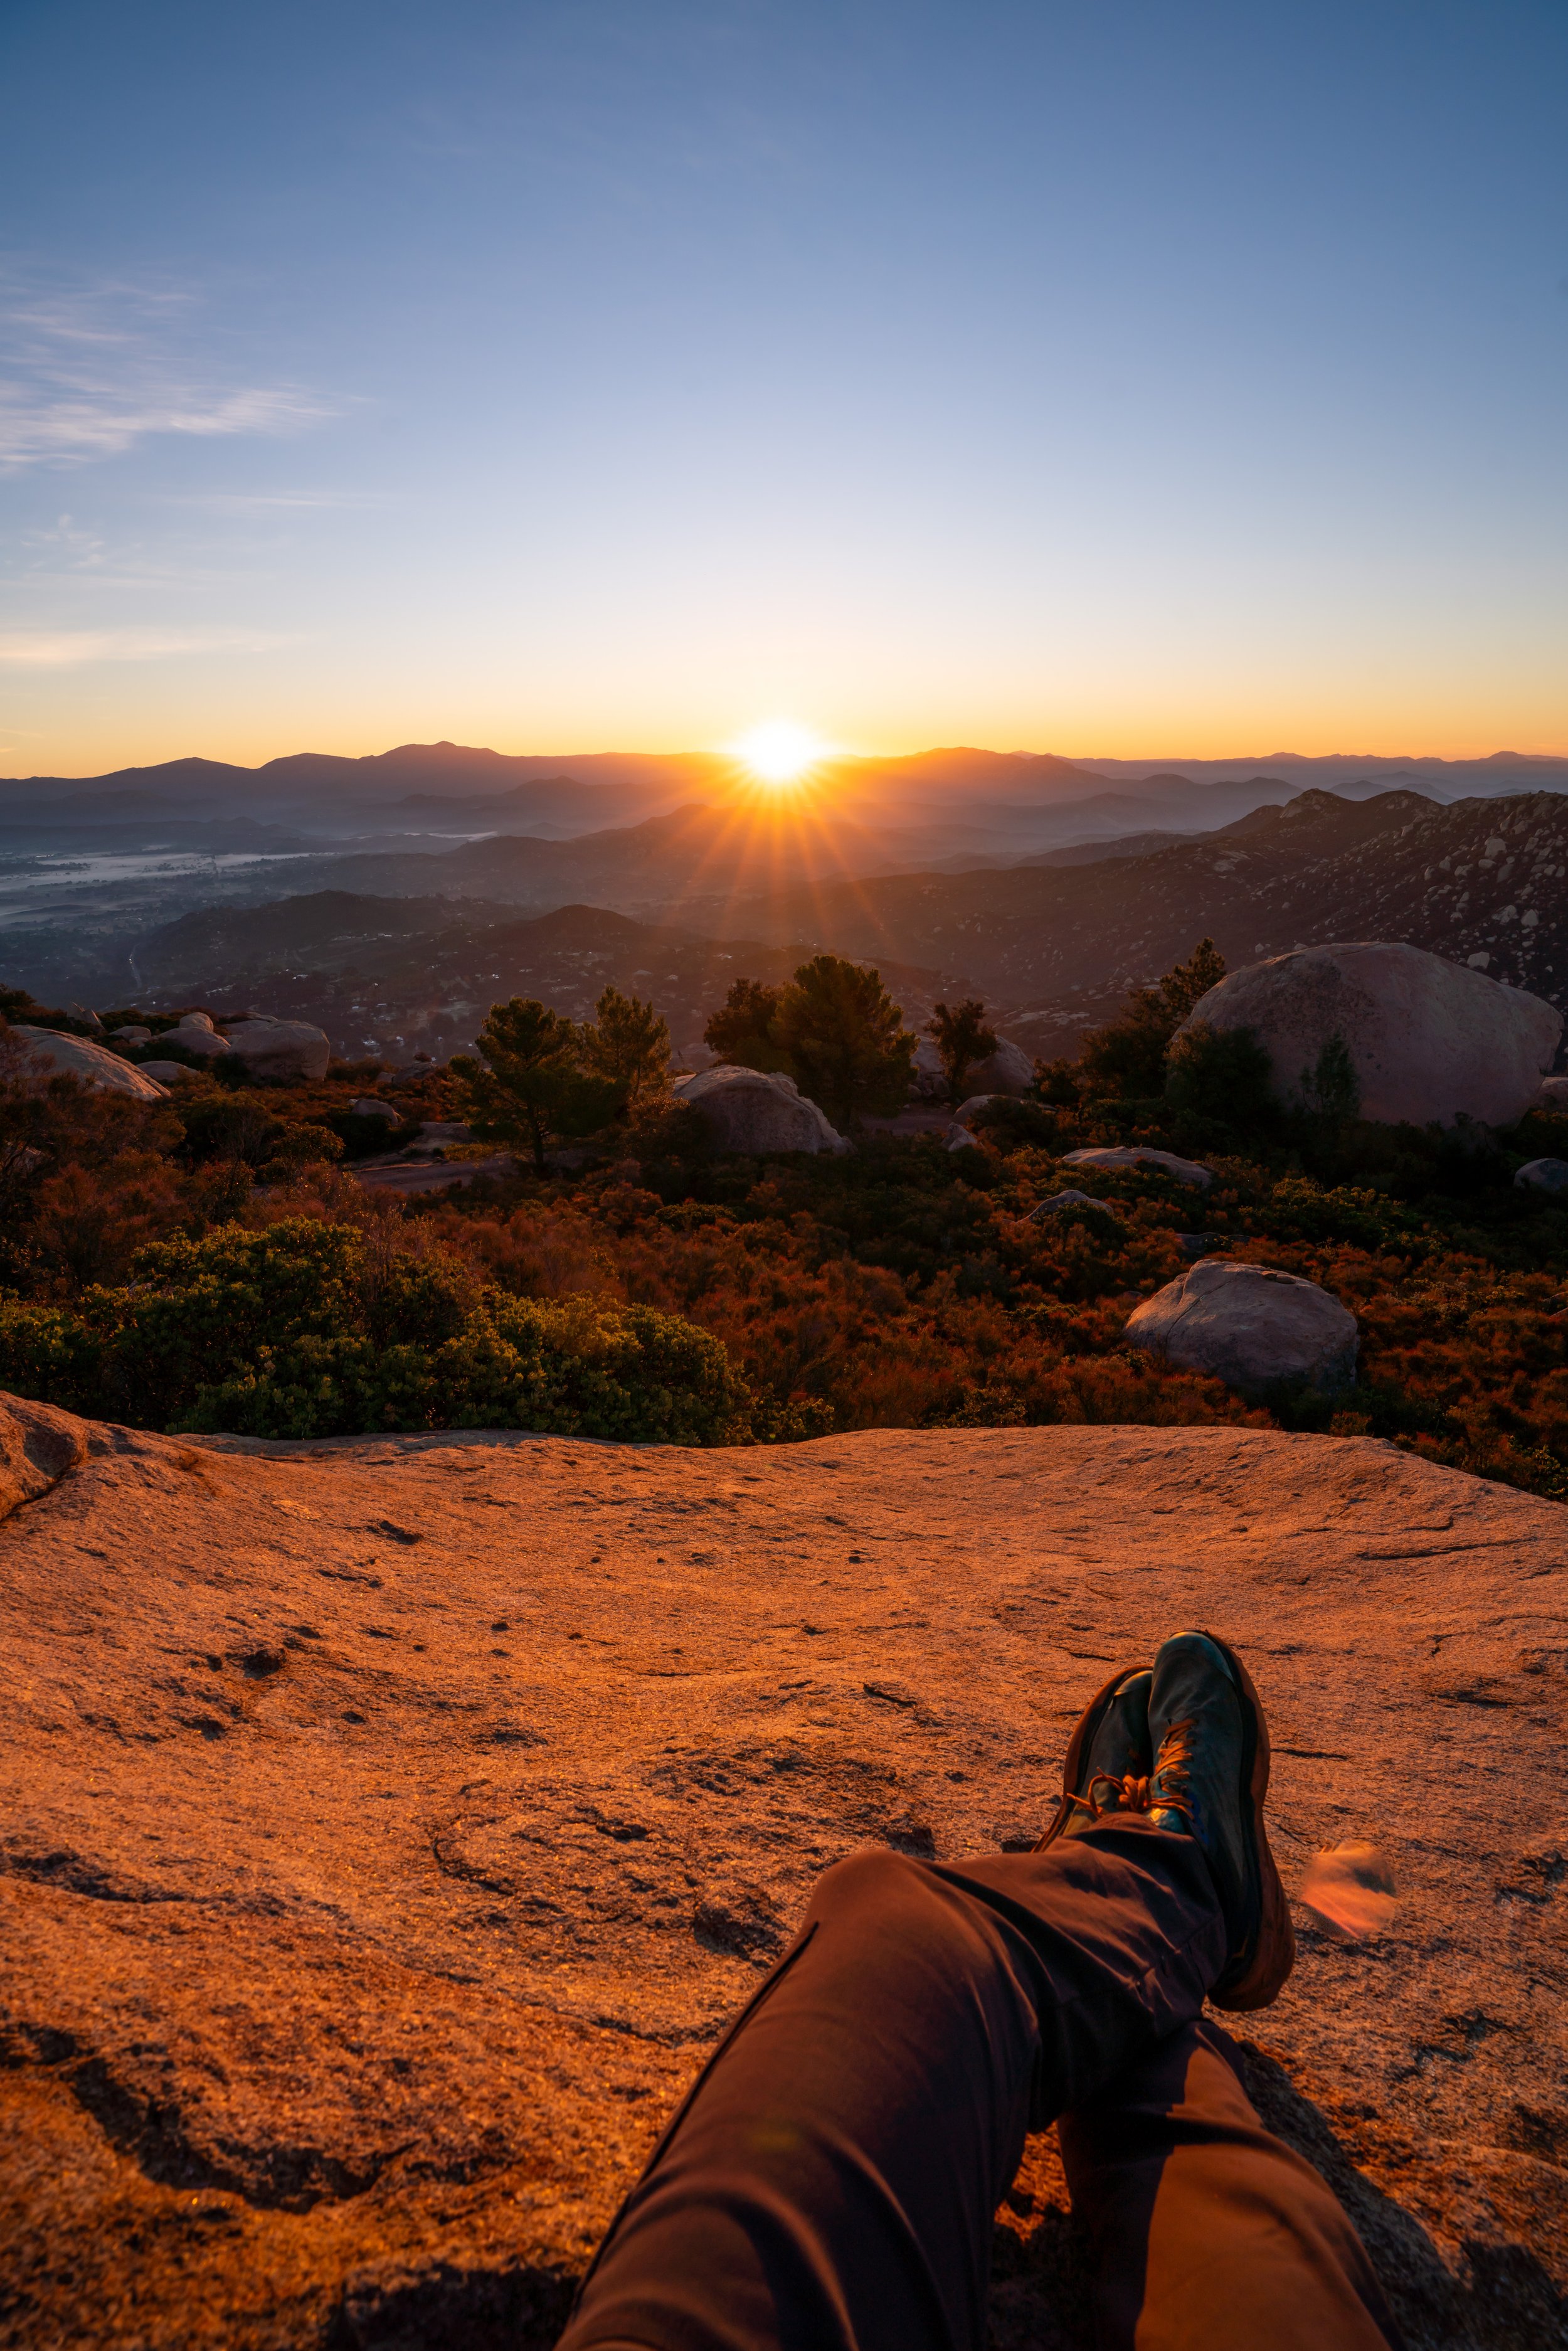
After Annie’s Canyon, you can enjoy stunning views from the lookout of the San Elijo Lagoon, especially during the sunset, as shown here.
Rios Avenue Trail
As mentioned previously, you could simply return back to the Solana Hills or North Rios Trailhead after completing Annie’s Canyon, but I highly recommend continuing further, if you have the time.
In all, the full Rios Avenue-Gemma Parks Loop is only 1.2 miles (1.9 km) at its longest and only 0.9 miles (1.4 km) after having made it to Annie’s Canyon.
Rios Avenue-Holmwood Canyon Junction
Go right at the Holmwood Canyon junction to continue toward Gemma Parks.
Gemma Parks Loop Junction
Unless you planned for a much longer hike around the entire San Elijo Lagoon, turn right to continue on the Gemma Parks Trail, which is significantly shorter than completing the loop around the lagoon.
San Elijo Lagoon Lookout
Late in the evening, it was really fun to watch the Striped Mullet feeding along the edges of the lagoon.
While continuing back on the Gemma Parks Loop, there will be a number of trails branching back to the Rios Avenue Trail.
However, it truly makes no difference in terms of distance which route you choose to follow.
Rios Avenue-Gemma Parks Loop Junction
This is the same junction shown previously, or I could have continued further toward the I-5 to link back up with the Solana Hills Trail.
All said, Annie’s Canyon is truly a must-see if you’re staying anywhere near San Diego, and hopefully, you can have a fun, uncrowded experience, like my late evening adventure!
More Nearby Adventures
If you’re interested in reading about some more amazing adventures nearby, check out my separate posts below!
Best Way to Find Places to Stay!
Wherever I travel, I love to start my search for places to stay on VRBO.
Even if I don’t end up booking through them, I think it’s one of the best ways to see what’s in the area!
Washington
Best Way to Book Rental Cars!
I travel quite a bit, and I know firsthand that finding a good rental car deal can be a challenge, but that’s why I recommend comparing all of your options with Discover Cars.
In short, Discover Cars is a well-known, reputable business that allows you to search for the best deal across companies, and they have the best full-refund cancellation policy I’ve ever seen, valid up to 72, or sometimes even 48, hours prior to your reservation!
Book Here: Discover Cars
Discover Cars!
Safety
Across Southern California, most dangers associated with hiking are commonly related to summer heat/ dehydration, poison oak, as well as a number of venomous snakes that can be found across the region.
Therefore, it is important to hike with plenty of water, avoid hiking during the hottest parts of the day come summer, and learn how to identify Poison Oak, as it can be found on any number of Southern California trails, extending far up the state, including the Oregon Coast and into Washington.
Finally, to learn more about what venomous snakes can be found across California, I recommend learning more about the subject in this separate article.
Disclaimer
All information provided on this blog is for informational purposes only and is not intended to be a substitute for information or advice from qualified professionals or managing agencies.
Noah Lang Photography LLC makes no representations or warranties regarding the accuracy or completeness of the information provided here, and readers should use their own discretion, judgement, and seek professional advice where it is appropriate.
Furthermore, Noah Lang Photography LLC shall not be held responsible for any injuries, lost individuals, or legal issues arising from the use of information provided on this website, and if applicable, the above safety disclaimer should be referenced to provide a generic overview of the risks involved.
All said, the content on this blog is for the sole use of Noah Lang Photography LLC, and unauthorized use or reproduction of this content is strictly prohibited.
Disclosure
This post is not sponsored.
However, some of the links in this post are affiliate links, which means that I may earn a small commission if a purchase is made through one of those links. This commission comes at no additional cost to you, and I only recommend products that I personally use and believe will add value to my readers. Thank you for your support, which enables me to continue creating more!
To read the full privacy policy, click here.

About This Blog
Noah Lang Photography, also known as @noahawaii, is 100% reader-supported!
I do not accept guest articles or sponsored content of any kind on my blog, which is why, if you enjoy the outdoor and travel content I create, please consider buying me a coffee!
I appreciate your support, which helps me continue to keep this blog alive!