


Hiking the Bubbles Trail in Acadia National Park
Distance: 1.5 miles - 4.8 / 2.4 - 7.7 km
The Bubbles Trail, also called the Bubble Rock Trail, is one of the best day hikes in Acadia National Park, and it’s one of my personal favorites because of a number of obvious, and not-so-obvious, viewpoints along the trail.
That said, visitors typically hike the Bubbles Trail in a variety of ways, both because of the challenging parking situation and because most only explore as far as the North and South Bubble before turning back.
However, I personally recommend hiking the entire trail, whether from north to south or vice versa, as amazing views are found everywhere—from the South Bubble to Connor’s Nubble on the northern end.
This creates what’s typically known as the Bubbles Loop Trail when paired with the Eagle Lake Trail and Jordan Pond Carry, which hopefully helps explain why the distance above is so variable. It can be as short as a hike up the Bubbles Divide Trail to both the North and South Bubble, or as long as the entire trail to create the loop, as I have outlined in this post here.
U.S. National Park Pass
Did you know that the same America the Beautiful Pass that grants access to all 63 U.S. National Parks can be purchased in advance at REI?
Yes, you can save time when you arrive by purchasing your National Park pass, along with your other outdoor gear, at REI before traveling to the park!


Bubbles Trailhead Parking
It’s almost safe to say that if you don’t arrive early during the busy summer travel season, parking can be impossible to come by at the Bubbles Trailhead.
This is because the Bubbles Trailhead is one of the smallest parking areas in Acadia National Park, and both The Bubbles and the Jordan Pond Path are two of the most popular day hikes on Mount Desert Island.
That being said, there are two parking areas near The Bubbles. First, there is the main parking lot at the Bubbles Divide Trailhead (linked below), or there is a small roadside trailhead off Park Loop Road on the left-hand side before the main trailhead when driving north.
Either is suitable for the Bubbles Trail, but when the park is at its busiest, parking as far away as the Jordan Pond Path Trailhead may be all that is possible.
Remember to purchase your National Park pass in advance and display your pass or entrance receipt here and at every trailhead in Acadia National Park, whether you went through an official entrance station or not. Yes, law enforcement officers check parked cars throughout Acadia, and I have seen tickets handed out to vehicles not following the rules of a U.S. fee area.
On a different note, be aware that Acadia National Park is one of the busiest parks in the country, and finding a place to park, even at less-known trailheads, can be incredibly challenging during the busiest times of the year.
Google Maps Directions: Bubbles Trailhead
Hiking Checklist - Acadia
Here is a complete list of must-have things that you will want for any hike in Acadia National Park.
Osprey 3L Water Bladder - The Osprey 3L water bladder is the most universal hiking and backpacking water bladder on the market, and it’s my go-to because of the slide-off seal that allows it to be quickly filled from the top. Additionally, individual parts are easily replaceable, such as the bite valve.
Blister / Heel Protectors - I swear by these cheap, amazing heel protectors to prevent blisters for nearly every kind of hiking and backpacking that I do!
Black Diamond Headlamp - Personally, I recommend the Black Diamond Storm because it is one of the brightest, lightest, and longest-lasting headlamps on the market—and trust me, the weight-to-battery-life ratio really does matter!
Hiking / Trail Running Shoes - Depending on the type of trail, I prefer to use either the Keen Targhee for longer, more rugged hiking or the HOKA Zinal Trail-Running Shoe for lighter, less intense trails. In either case, both have been amazing to me for many years across countless environments, and both can be found in men’s and women’s sizes. - (Men’s Keen / Women’s Keen) (Men’s HOKA / Women’s HOKA)
Waterproof Rain Shell - You never know when it may rain, and I’ve learned over the years that a rain shell is far better than a rain jacket. By this, I mean that it’s best to have something that the water will roll right off of, which is why I recommend the Patagonia Torrentshell 3L available in both men’s and women’s sizes.
High SPF Sunscreen - Packing high-SPF sunscreen is a must for long days outside!


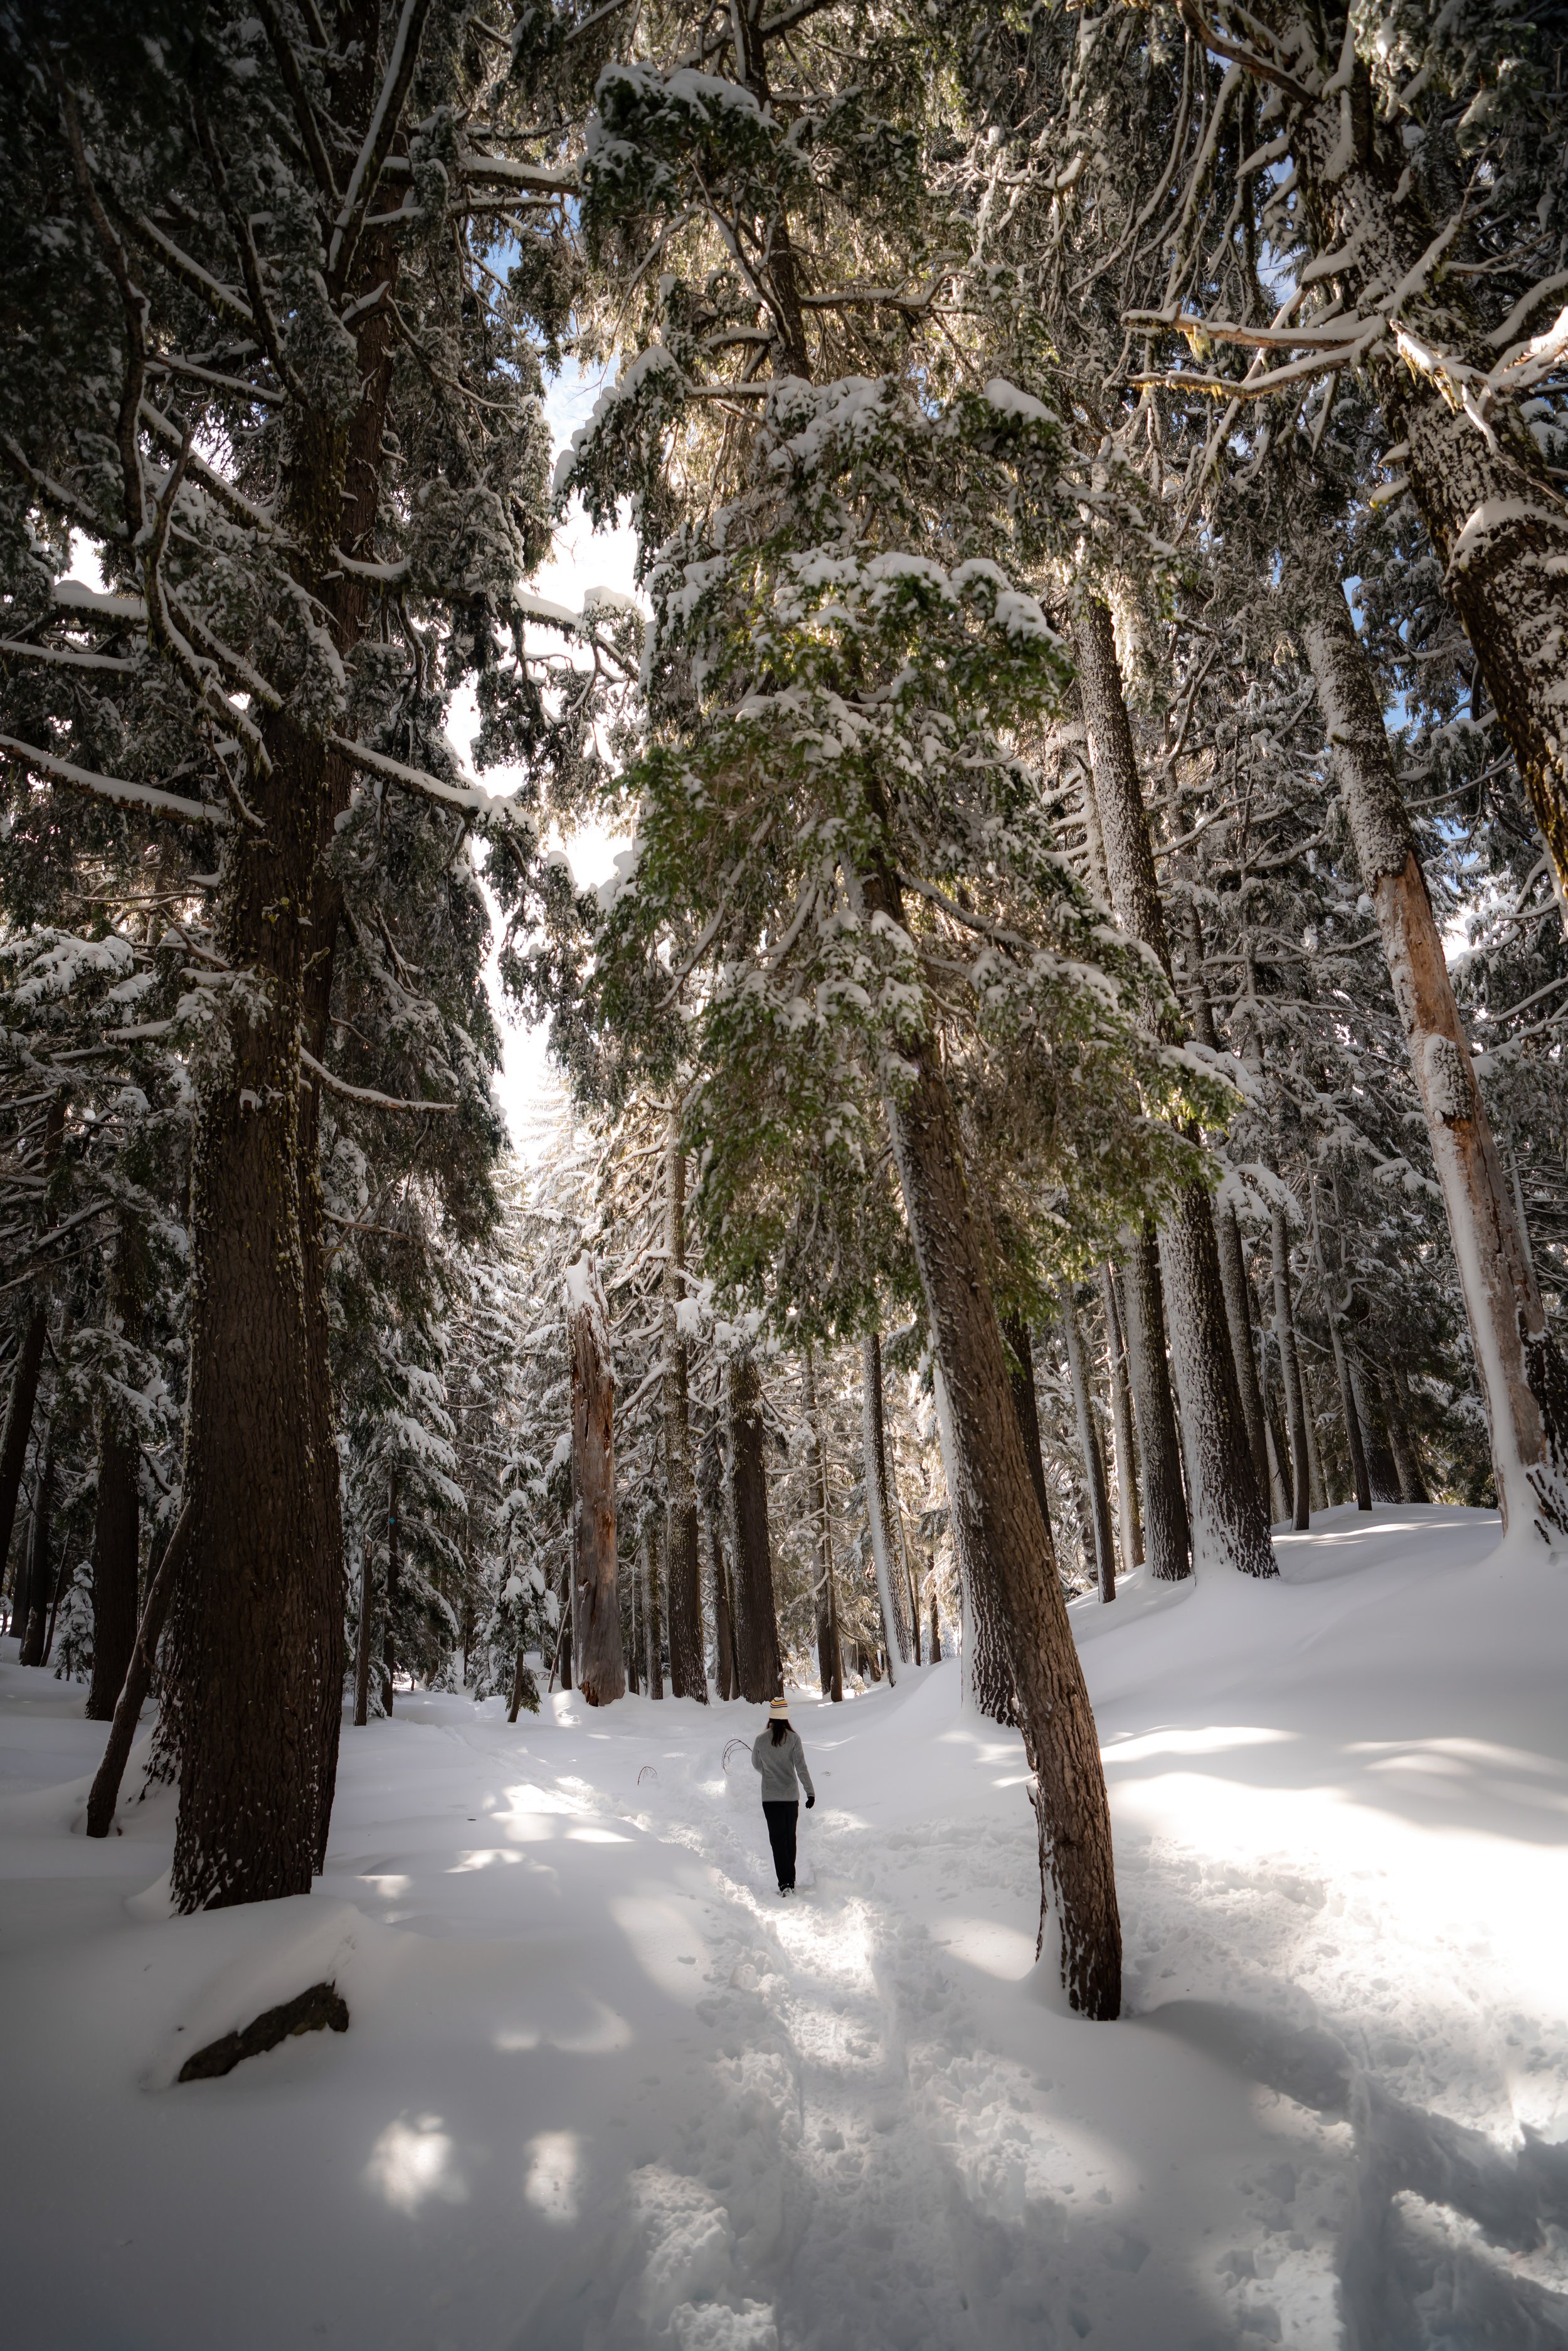
Hiking the Bubbles Trail
This is the Bubbles Trail, beginning from the main parking area at the Bubbles Divide Trailhead off Park Loop Road.
Bubbles Divide-Jordan Pond Carry Junction (Bubbles Loop Trail)
After just 0.1 miles (0.2 km), the Bubbles Divide Trail meets the Jordan Pond Carry, a connecting trail that runs along the base of The Bubbles from the Eagle Lake Trail to the Jordan Pond Path.
Here, go left to hike the Bubbles Trail from north to south, following the same direction I took.
Jordan Pond Carry-Park Loop Road Junction
This first split on the Jordan Pond Carry is for the small parking area off Park Loop Road, mentioned previously.
This is where the trail would have met the Bubbles Loop, should you choose to begin off Park Loop Road.
Bubbles-Jordan Pond Junction
After 0.5 miles (0.8 km), the Jordan Pond Carry ends at Jordan Pond.
This is where the Bubbles Trail begins, which is the first right at this three-way split.
Read My Separate Post: Jordan Pond Path
From the Jordan Pond Path, the Bubbles Trail begins, following a steep 0.4-mile (0.6 km) trail up about 470 ft. (143 m) to the South Bubble.
That being said, there are some minor Class 2 scrambles to navigate just prior to the summit, which is why some may find this section between Jordan Pond and the South Bubble more difficult than the rest of the hike.
Some hikers may prefer to carry trekking poles for the uneven granite terrain, which can be especially useful on the hike back down.


This is where the scrambling on the trail to the South Bubble begins, but it doesn’t last long.
After these very short sections, the rest of the hike to the South Bubble and beyond is much easier to hike in comparison.
This first viewpoint is not the South Bubble, but it is where some of the best views are located, just prior to the summit.
Personally, I recommend hiking up here early in the day if you’re looking for the best photos over Jordan Pond, but if you’d rather have better photos from Bubble Rock, those are typically better in the mid- to late afternoon hours.
This is just how the light moves.
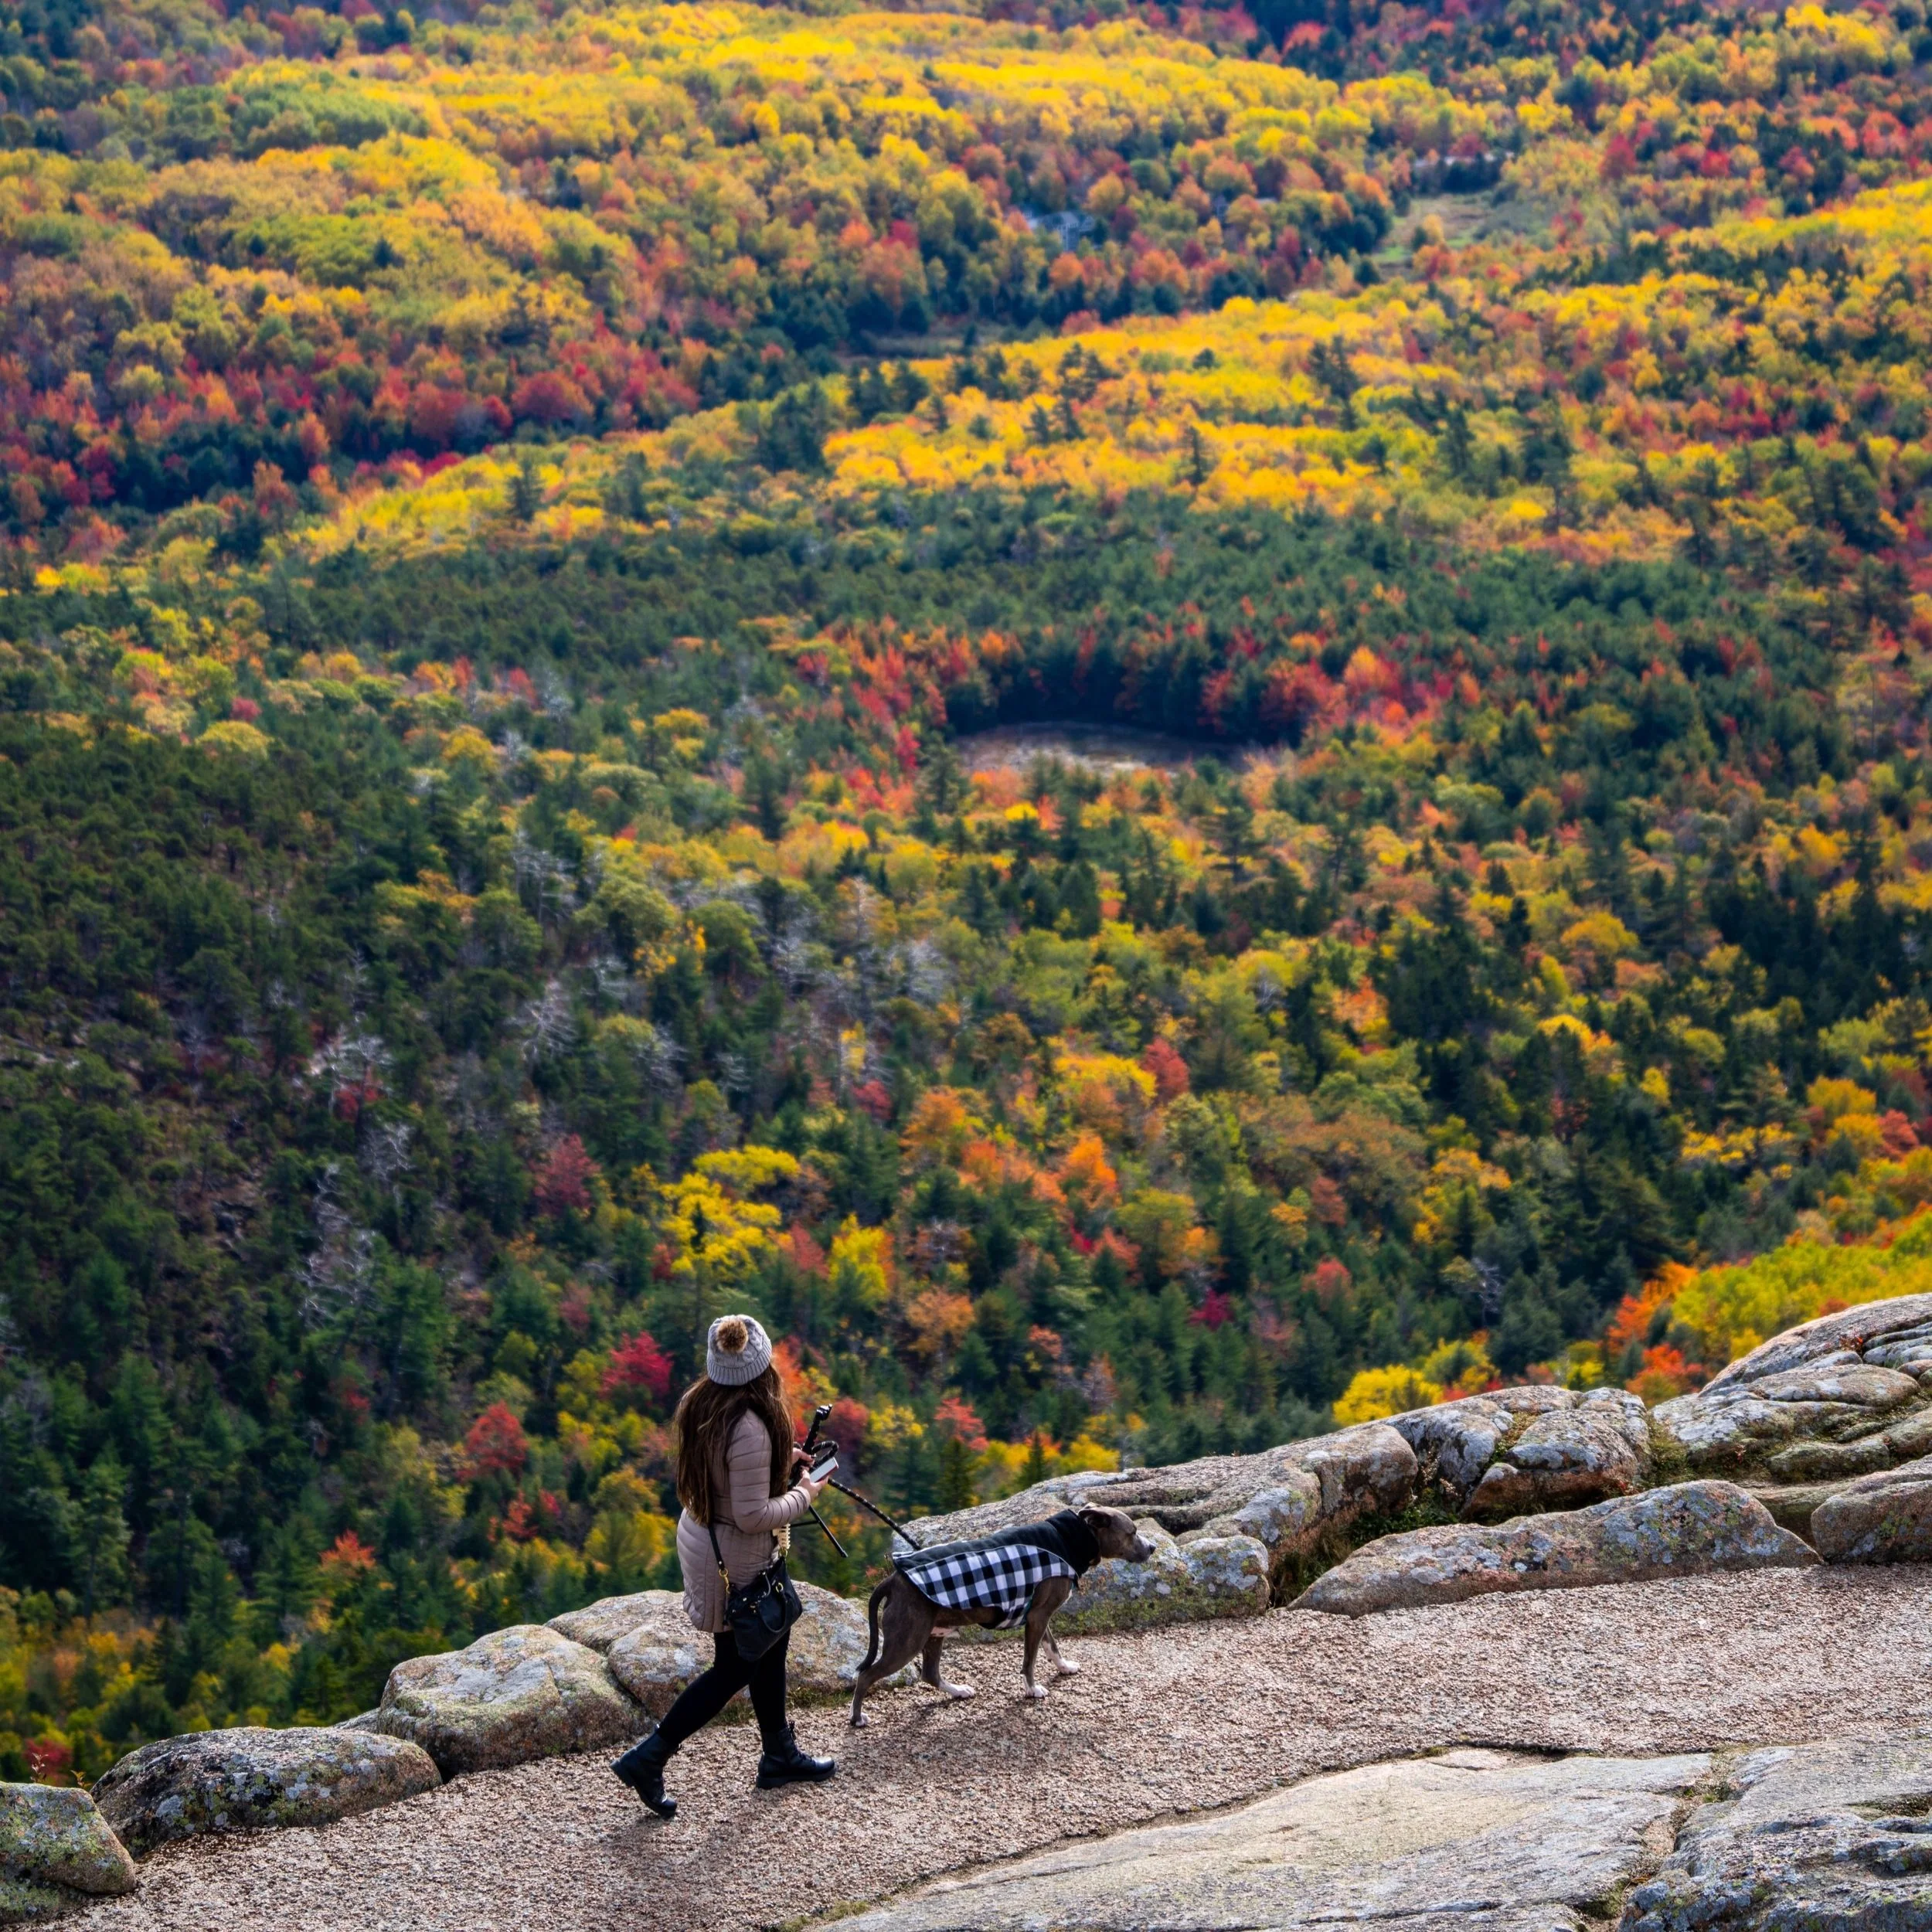
South Bubble (Bubble Rock)
The South Bubble is the shorter of the two bigger summits on the Bubbles Trail at 758 ft. (231 m), but it’s where the iconic Bubble Rock can be found, just off to the side of the main trail.
Bubble Rock
Bubble Rock is a large, precariously balanced boulder just off the summit of the South Bubble.
It is said to have been deposited by glaciers, but regardless of how it got here, Bubble Rock today is a fun place to take photos—especially with the fall colors in the distance!
After the South Bubble, the Bubbles Trail descends a gradual 150 ft. (46 m) to the Bubble Divide Trail before it begins the climb up to the North Bubble.
Upper Bubbles-Bubbles Divide Junction
This is where the Bubbles Trail meets the 0.6-mile (1.0 km) Bubbles Divide Trail, which separates both the North and South Bubbles.
Here, go right for only 0.1 miles (0.2 km) on the Bubbles Divide Trail until the trail splits again toward the North Bubble.
Lower Bubbles-Bubbles Divide Junction
At this next split, go left to begin the hike up to the North Bubble.
The trail to the right simply leads back to the Bubbles Divide Trailhead from the beginning of the hike.
From the junction above, there’s about 250 ft. (76 m) to climb to reach the North Bubble.
North Bubble
According to the National Park Service, the North Bubble stands at 866 ft. (264 m), making it the highest summit on the Bubbles Trail by about 100 ft. (30.5 m).
In my opinion, the North Bubble is also the prettier viewpoint above Jordan Pond, which I can’t wait to return to and take photos of in the early morning light when I get the chance!
Past the North Bubble, the crowds on the trail diminish almost entirely, as most who hike the Bubble Trail or Bubbles Divide Trail only hike the North and South Bubble before returning.
However, I highly recommend continuing further to Connor’s Nubble, as the viewpoint above Eagle Lake is easily my second favorite on the entire trail, behind only the viewpoint from the top of the North Bubble!
The Bubbles Trail, from the North Bubble down to the Carriage Road, where the trail begins climbing again up to Connor’s Nubble, descends about 400 ft. (122 m).
This section was one of my favorite parts of the entire hike because it was much quieter in comparison, and the views above Eagle Lake speak for themselves!
Bubbles-Carriage Road Junction
At the Carriage Road, go straight across to continue on the Bubbles Trail to Connor’s Nubble.
Keep in mind that if you’re interested in returning on the fastest route back to the Bubbles Divide Trailhead (not the loop shown in this post), hiking back to the Carriage Road here is faster than hiking along Eagle Lake, as I show at the end.
The hike from the Carriage Road to Connor’s Nubble is less than 0.2 miles (0.3 km), gaining only 140 ft. (43 m) to get to the top.
Connor’s Nubble
According to the National Park Service, Connor’s Nubble stands at just 581 ft. (177 m) tall, making it the shortest summit on the entire Bubbles Trail.
However, this viewpoint toward Pemetic Mountain and Cadillac Mountain, above Eagle Lake, is one of the best on the hike, especially beautiful during peak fall colors, as shown here.
Most visitors who hike as far as Connor’s Nubble turn back toward the Carriage Road to the south, but if you have the time, the hike along Eagle Lake can be a nice alternative compared simply walking the Carriage Road and Jordan Pond Carry to the Bubbles Divide Trailhead.
Bubbles-Eagle Lake Junction
This is the very northern end of the Bubbles Trail and the beginning of the Eagle Lake Trail.
From here, go right to continue on the Bubbles Loop Trail back to the Bubbles Divide Trailhead.
The hike on the Eagle Lake Trail, below Connor’s Nubble, can be particularly rocky—more so than other comparable hikes, like the Jordan Pond Path.
Eagle Lake-Jordan Pond Carry Junction
This is where the Eagle Lake portion of the Bubbles Loop ends, beginning the same Jordan Pond Carry as the very beginning of the hike.
That being said, go right to reach the start of the loop, located about 0.6 miles (1.0 km) away from this junction.
Jordan Pond Carry-Carriage Road Junction
Shortly after the end of the Eagle Lake Trail, the Jordan Pond Carry crosses the same Carriage Road that began the hike up to Connor’s Nubble.
This is why I said previously that hiking south from Connor’s Nubble to walk the Carriage Road to here is a faster alternative than the Bubbles Loop along Eagle Lake.
In any case, go straight across to continue on the Jordan Pond Carry, back to the beginning.
Bubbles Divide-Jordan Pond Carry Junction
Finally, the Bubble Loop Trail returns to the original junction, where the hike first split with the Bubbles Divide Trail and the Jordan Pond Carry to Jordan Pond.
Here, go left to return to the trailhead.
Overall, I believe the Bubbles Trail is easily one of the best day hikes in Acadia National Park, especially if you time the summits at the right time of day, as I have described throughout this article!
More Acadia Adventures
If you’re interested in reading about some more amazing adventures within Acadia National Park, check out my separate posts below!
Mount Desert Island


Schoodic Peninsula


Best Way to Find Places to Stay!
Wherever I travel, I love to start my search for places to stay on VRBO.
Even if I don’t end up booking through them, I think it’s one of the best ways to see what’s in the area!
Washington
Best Way to Book Rental Cars!
I travel quite a bit, and I know firsthand that finding a good rental car deal can be a challenge, but that’s why I recommend comparing all of your options with Discover Cars.
In short, Discover Cars is a well-known, reputable business that allows you to search for the best deal across companies, and they have the best full-refund cancellation policy I’ve ever seen, valid up to 72, or sometimes even 48, hours prior to your reservation!
Book Here: Discover Cars
Discover Cars!
Safety
The biggest risks that the National Park Service highlights in Acadia National Park are largely associated with falls, whether on slippery, wet granite or down one of the countless dramatic cliffs found throughout the park.
This is true both in coastal areas and on unsuspecting upper-elevation trails—not just on well-known challenging hikes, like the Precipice and Beehive Trail.
That being said, prepare for all types of conditions, as New Englanders will tell you that layers are your best friend in Maine—especially on the Atlantic Coast!
Apart from this, be aware that there are Black Bears in Acadia National Park, though the National Park Service reports that encounters are very unlikely. Even so, hiking with bear spray is never a bad idea, regardless that Black Bears usually present less of a risk compared to Grizzlies. However, it’s truly up to your own discretion and comfort level.
As always, find the most up-to-date information and conditions on the official National Park website.
National Park Service: Acadia National Park
U.S. National Parks Pass
Did you know that the same America the Beautiful Pass that grants access to all 63 U.S. National Parks can be purchased in advance at REI?
Yes, you can save time when you arrive by purchasing your National Park pass, along with your other outdoor gear, at REI before traveling to the park!
More U.S. National Parks
If you’d like to read more about some of my best recommendations when visiting other U.S. National Parks, check out some of my other posts below!


Disclaimer
All information provided on this blog is for informational purposes only and is not intended to be a substitute for information or advice from qualified professionals or managing agencies.
Noah Lang Photography LLC makes no representations or warranties regarding the accuracy or completeness of the information provided here, and readers should use their own discretion, judgement, and seek professional advice where it is appropriate.
Furthermore, Noah Lang Photography LLC shall not be held responsible for any injuries, lost individuals, or legal issues arising from the use of information provided on this website, and if applicable, the above safety disclaimer should be referenced to provide a generic overview of the risks involved.
All said, the content on this blog is for the sole use of Noah Lang Photography LLC, and unauthorized use or reproduction of this content is strictly prohibited.
Disclosure
This post is not sponsored.
However, some of the links in this post are affiliate links, which means that I may earn a small commission if a purchase is made through one of those links. This commission comes at no additional cost to you, and I only recommend products that I personally use and believe will add value to my readers. Thank you for your support, which enables me to continue creating more!
To read the full privacy policy, click here.

About This Blog
Noah Lang Photography, also known as @noahawaii, is 100% reader-supported!
I do not accept guest articles or sponsored content of any kind on my blog, which is why, if you enjoy the outdoor and travel content I create, please consider buying me a coffee!
I appreciate your support, which helps me continue to keep this blog alive!