


Hiking the Deadhorse Trail in Black Canyon of the Gunnison National Park
Distance (Full Trail & Loop): 6.6 miles / 10.6 km
The Deadhorse Trail, also known as the Deadhorse Loop Trail due to the variation in the trail that hikers can opt for, is the second-longest day hike on the North Rim of Black Canyon of the Gunnison National Park, behind only the North Vista Trail to Green Mountain.
That being said, the trail is often treated as two separate day hikes: one to the Deadhorse Overlook at the far eastern end, and another to the Deadhorse Loop, which begins roughly 1.2 miles (1.9 km) from the trailhead. However, there is one best way to hike both trails in order to see the most beautiful overlooks without hiking the all 6.6 miles (10.6 km).
To learn more, I highly recommend reading all the details below, as the best overlooks on the hike are not in the most obvious locations beyond the Deadhorse Gulch Overlook at the very end.
U.S. National Park Pass
Did you know that the same America the Beautiful Pass that grants access to all 63 U.S. National Parks can be purchased in advance at REI?
Yes, you can save time when you arrive by purchasing your National Park pass, along with your other outdoor gear, at REI before traveling to the park!


Deadhorse Trailhead Parking
Parking for the Deadhorse Trail is located at either the Kneeling Camel Overlook or on the side of North Rim Road in one of a few small turnouts near the trailhead.
Google Maps Directions: Deadhorse Trailhead
Hiking Checklist - Black Canyon
Black bears are known to be found everywhere from the plateaus along the canyon rim to the steep routes that lead down to the Gunnison River, and everywhere in between.
That being said, here is a complete list of must-have things that you will want for any hike in Black Canyon of the Gunnison National Park.
Bear Spray & Holster - If you aren’t flying, don’t rent bear spray! It’s a waste of money. Prepare ahead of time by buying your own, as this may be one of the most important items on this list.
Osprey 3L Water Bladder - The Osprey 3L water bladder is the most universal hiking and backpacking water bladder on the market, and it’s my go-to because of the slide-off seal that allows it to be quickly filled from the top. Additionally, individual parts are easily replaceable, such as the bite valve.
Black Diamond Headlamp - Personally, I recommend the Black Diamond Storm because it is one of the brightest, lightest, and longest-lasting headlamps on the market—and trust me, the weight-to-battery-life ratio really does matter!
Hiking / Trail Running Shoes - Depending on the type of trail, I prefer to use either the Keen Targhee for longer, more rugged hiking or the HOKA Zinal Trail-Running Shoe for lighter, less intense trails. In either case, both have been amazing to me for many years across countless environments, and both can be found in men’s and women’s sizes. - (Men’s Keen / Women’s Keen) (Men’s HOKA / Women’s HOKA)
Blister / Heel Protectors - I swear by these cheap, amazing heel protectors to prevent blisters for nearly every kind of hiking and backpacking that I do!
Waterproof Rain Shell - You never know when it may rain, and I’ve learned over the years that a rain shell is far better than a rain jacket. By this, I mean that it’s best to have something that the water will roll right off of, which is why I recommend the Patagonia Torrentshell 3L available in both men’s and women’s sizes.
High SPF Sunscreen - Packing high-SPF sunscreen is a must for long days outside!


Hiking the Deadhorse Trail
The Deadhorse Trail begins on the left-hand side of North Rim Road, following a short, 0.1-mile (0.2 km) service road before it splits away into the actual Deadhorse Trail.
This is where the Deadhorse Trail splits away from the service road.
Here, go right, and the true Deadhorse Trail will begin shortly ahead.
After the service road, the Deadhorse Trail follows a mostly flat path across the Sagebrush-Gambel Oak plateaus of Black Canyon toward the Deadhorse Loop, about 1.1 miles (1.8 km) away.
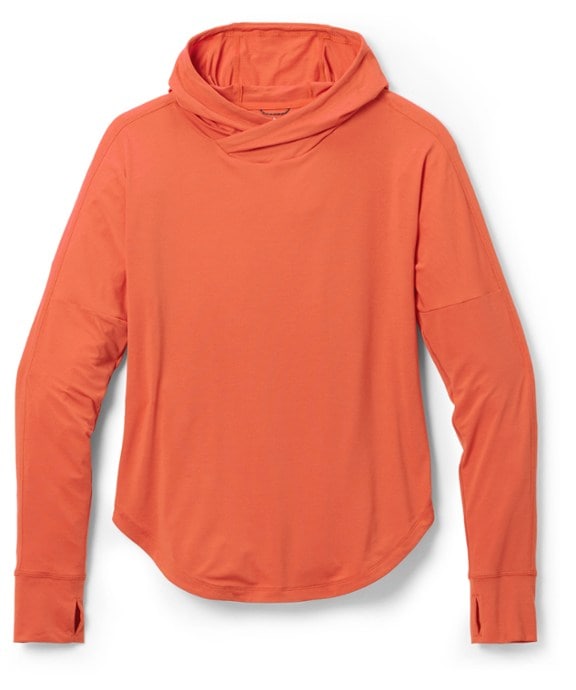
Sun Shirts
If this is your first time in the area, you’re likely unprepared for how strong the sun can be.
For this reason, I recommend picking up a quality, hooded sun shirt if you plan to do any hiking. Protection from the sun cannot be overstated, and in my experience, sunscreen alone has never been enough over a multi-day visit, especially if you’re visiting during the summer season!

This area is the beginning of an unnamed gulch with the largest elevation change on the Deadhorse Trail, descending only about 55 ft. (16.8 m) before climbing back up on the far side.
Black Bear scat was fairly abundant across the entire trail, but I didn’t have any encounters on the day I hiked the Deadhorse Trail.
With that in mind, carrying bear spray is never a bad idea if you know how to use it, but of all the bear encounters that I’ve had in Black Canyon, they typically seem to mind their own business, so long as they know you’re there without surprising them.


North Deadhorse Loop Junction
About 0.2 miles (0.3 km) after ascending out of the gulch, the Deadhorse Trail splits for the first of two separate times with the Deadhorse Loop Trail.
Knowing that, this North Deadhorse Loop junction is the route I recommend hiking on the way back from the Deadhorse Overlook in order to reach the best viewpoints the fastest, which you can read more about in the section at the end.
South Deadhorse Loop Junction
The next Deadhorse Loop Trail junction is located another 0.2 miles (0.3 km) away from the first, and this is the direction I honestly recommend against hiking unless you’re interested in seeing Black Bears.
That aside, I recommend hiking out and back from the North Deadhorse Loop junction because all of the best viewpoints on the hike are located along this stretch, not the southeastern half of the loop.
To skip ahead to this same south junction on the Deadhorse Loop Trail, click here.
After the Deadhorse Loop Trail, the main Deadhorse Trail continues for another 1.0 miles (1.6 km) to the point where it makes a hard turn toward the overlook near the end.
Warning
Afternoon thunderstorms in high Mountain West areas, such as this, are a serious concern during the summer monsoon season.
Even if the weather forecast doesn’t predict any storms, I can tell you from personal experience that they may show up out of nowhere and can put you and your entire group in a very dangerous situation.
I say this to emphasize the importance of turning around at the first sign of lightning, thunder, or even heavy cloud buildup. However, if you ever get caught in a storm unsuspectingly, follow the steps linked below to reduce the risk of getting struck.
U.S. Forest Service: Lightning Safety Tips
Don’t forget to lookout for all the wildflowers among the Sagebrush and Gambel Oak!
At the far eastern end of the hike, the Deadhorse Trail makes a sharp right turn to the south along the fence line toward the Deadhorse Overlook, about 0.25 miles (0.4 km) away.
Deadhorse Overlook
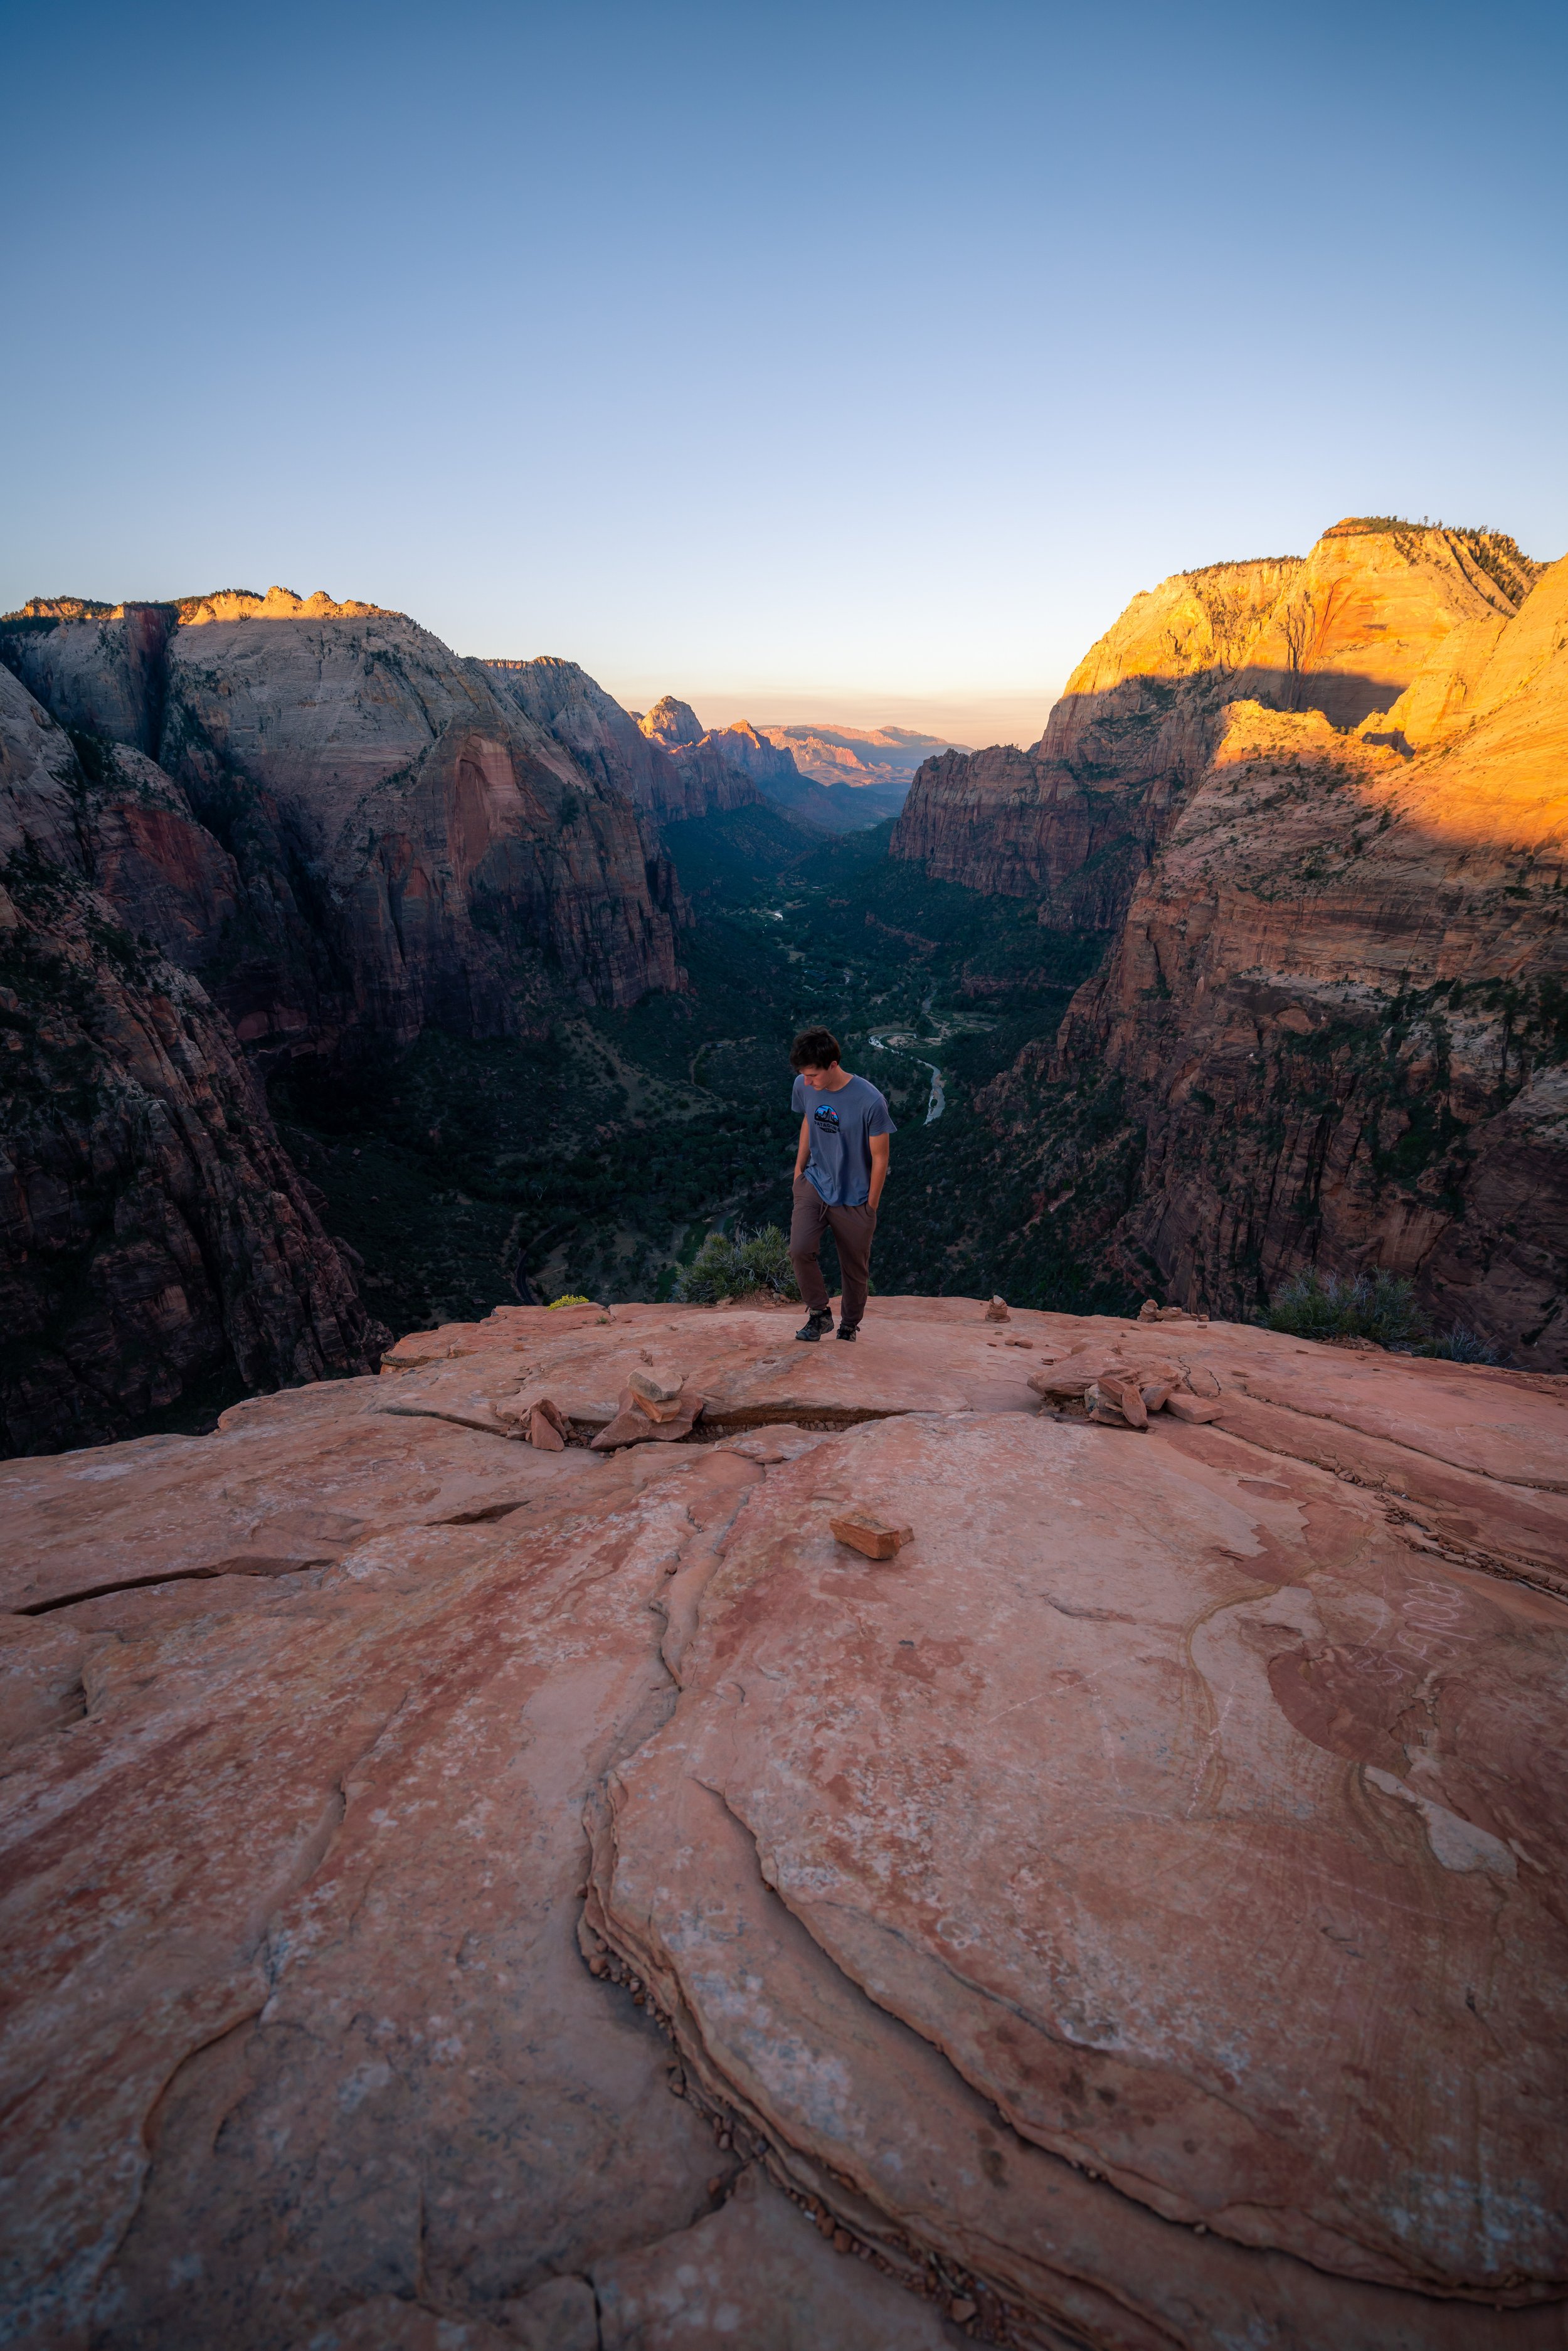
The Deadhorse Overlook is a very untraditional viewpoint, unlike what you may expect at the end of a similar trail in a National Park, such as the Observation Point Trail in Zion National Park.
What I mean is that the Deadhorse Overlook is a very natural, unmaintained viewpoint, and the vegetation is not cut back to accommodate the view.
Nevertheless, there are amazing views at the Deadhorse Overlook, most notably of the East Portal Trail down at the Gunnison River, which can be reached from a paved road on the South Rim.
South Deadhorse Loop Junction
Once back at the southern loop junction, I decided to go left to begin the 1.5-mile (2.4 km) Deadhorse Loop Trail, which, to my surprise, had better views of Black Canyon compared to the Deadhorse Overlook shown above.
That being said, the Deadhorse Trail going straight is only 0.2 miles (0.3 km) to reach the northern loop junction, which can be a shorter and much faster route to the best viewpoints along the loop, as you can see in the section below.
This is the southeastern half of the Deadhorse Loop by going left at the southern junction.
In my experience, evidence of Black Bears was far more abundant on the Deadhorse Loop than anywhere else.
These far western sections of the loop do have views that you can push through the overgrowth to see, but the best views on the entire loop are ahead on the sections leading back to the main trail.
This northwest-facing view is by far the best viewpoint on the Deadhorse Loop Trail, and it’s only 0.5 miles (0.8 km) away from the northern split.
This is why I previously mentioned that it makes more sense to hike out and back to this spot, as opposed to hiking the entire loop as I have shown.
North Deadhorse Loop Junction
Finally, the Deadhorse Loop Trail returns to the Deadhorse Trail, with only 1.2 miles (1.9 km) left to reach the trailhead off North Rim Road.
This is all to say that when I return to re-hike the Deadhorse Trail, I plan to only hike this first portion of the Deadhorse Loop in order to catch sunset at the amazing viewpoint shown above.
That being said, it’s important come to Black Canyon prepared with a quality headlamp if this is something you are considering, as the North Rim is very remote, dark, and it’s likely that you will be the only group on the entire trail at this time.

More Black Canyon Adventures
If you’re interested in reading about some more amazing adventures within Black Canyon of the Gunnison National Park, check out my separate posts below!


Best Way to Find Places to Stay!
Wherever I travel, I love to start my search for places to stay on VRBO.
Even if I don’t end up booking through them, I think it’s one of the best ways to see what’s in the area!
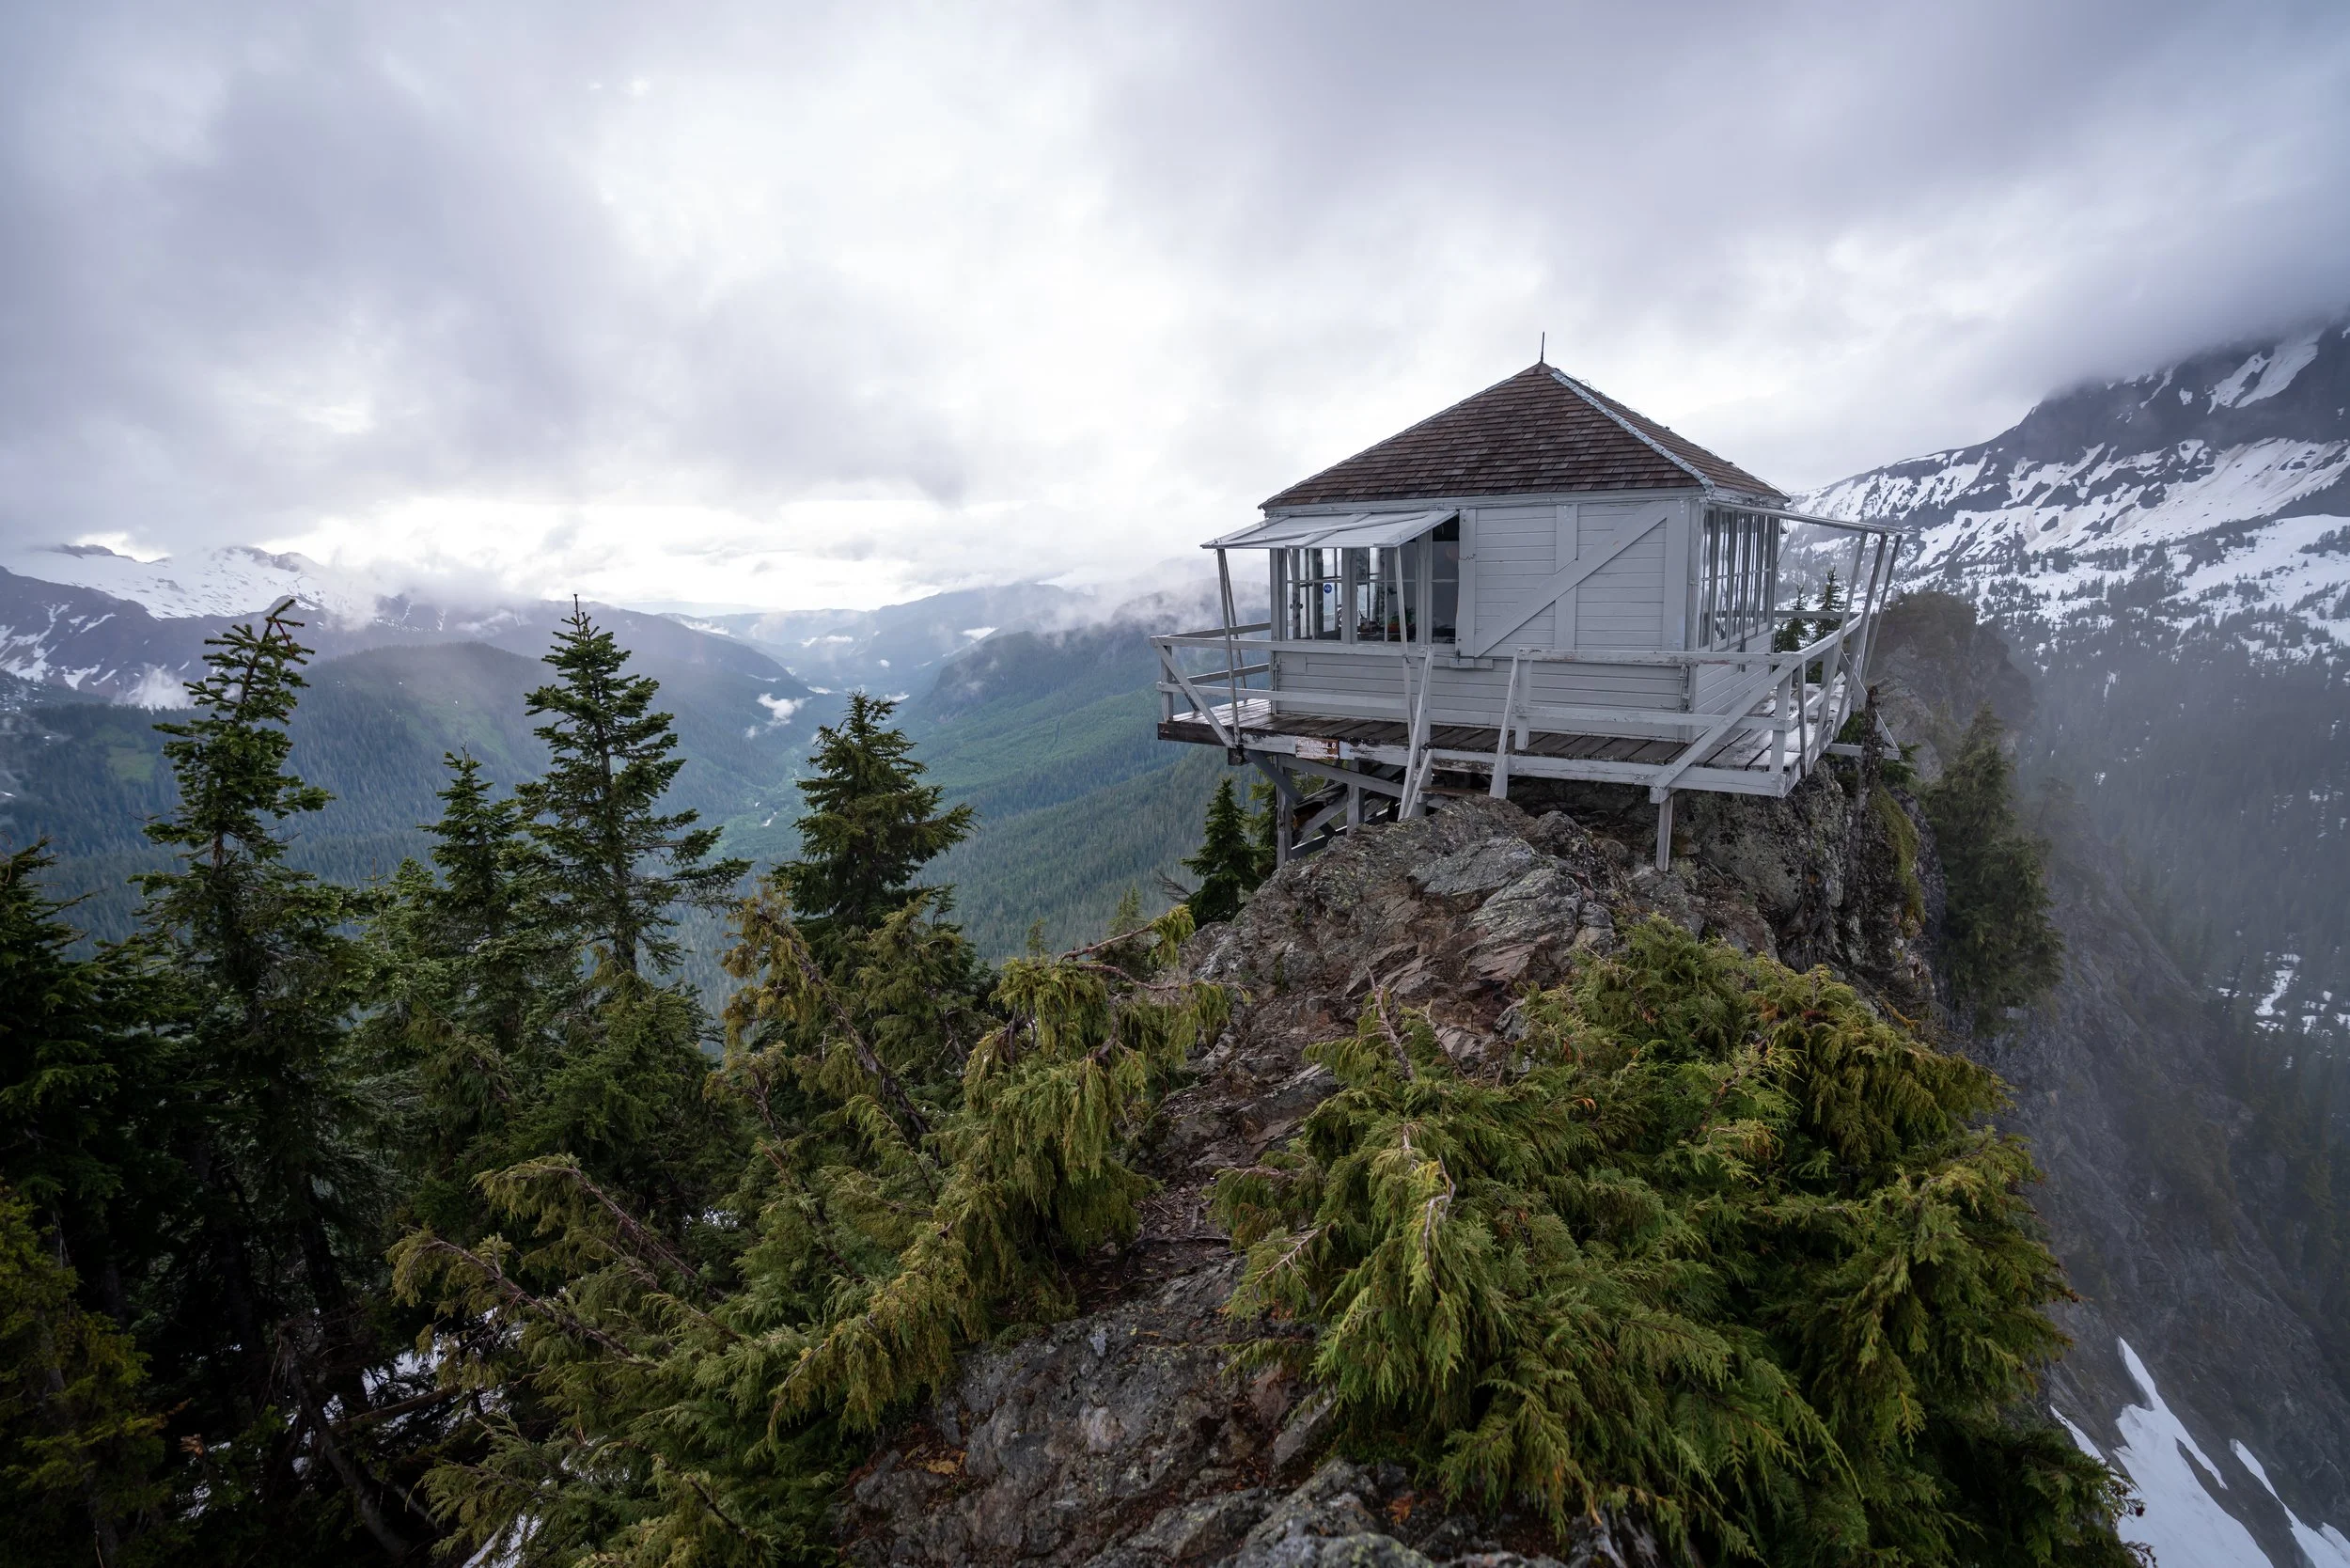
Washington
Best Way to Book Rental Cars!
I travel quite a bit, and I know firsthand that finding a good rental car deal can be a challenge, but that’s why I recommend comparing all of your options with Discover Cars.
In short, Discover Cars is a well-known, reputable business that allows you to search for the best deal across companies, and they have the best full-refund cancellation policy I’ve ever seen, valid up to 72, or sometimes even 48, hours prior to your reservation!
Book Here: Discover Cars
Discover Cars!
Safety
Most obviously, be careful around the rim of Black Canyon! It happens all too often at places like this—the Grand Canyon, Angels Landing, etc.—that someone falls in!
On a different note, if you decide to hike into Black Canyon, take it slow, and stagger yourself from the other people in your group and others on the trail, as many of the gullies are filled with loose rock that can be problematic for those below.
Additionally, learn how to identify Poison Ivy, as there is not one area along the Gunnison River where I haven’t seen it.
Finally, be aware that Black Canyon of the Gunnison is Black Bear and mountain lion territory, and while hiking in Black Bear territory usually presents less danger as opposed to grizzlies, hiking with bear spray is never a bad idea. However, it’s really up to your own discretion and comfort level.
As always, find the most up-to-date information and conditions on the official National Park website.
National Park Service: Black Canyon of the Gunnison National Park
U.S. National Parks Pass
Did you know that the same America the Beautiful Pass that grants access to all 63 U.S. National Parks can be purchased in advance at REI?
Yes, you can save time when you arrive by purchasing your National Park pass, along with your other outdoor gear, at REI before traveling to the park!
More U.S. National Parks
If you’d like to read more about some of my best recommendations when visiting other U.S. National Parks, check out some of my other posts below!


Disclaimer
All information provided on this blog is for informational purposes only and is not intended to be a substitute for information or advice from qualified professionals or managing agencies.
Noah Lang Photography LLC makes no representations or warranties regarding the accuracy or completeness of the information provided here, and readers should use their own discretion, judgement, and seek professional advice where it is appropriate.
Furthermore, Noah Lang Photography LLC shall not be held responsible for any injuries, lost individuals, or legal issues arising from the use of information provided on this website, and if applicable, the above safety disclaimer should be referenced to provide a generic overview of the risks involved.
All said, the content on this blog is for the sole use of Noah Lang Photography LLC, and unauthorized use or reproduction of this content is strictly prohibited.
Disclosure
This post is not sponsored.
However, some of the links in this post are affiliate links, which means that I may earn a small commission if a purchase is made through one of those links. This commission comes at no additional cost to you, and I only recommend products that I personally use and believe will add value to my readers. Thank you for your support, which enables me to continue creating more!
To read the full privacy policy, click here.

About This Blog
Noah Lang Photography, also known as @noahawaii, is 100% reader-supported!
I do not accept guest articles or sponsored content of any kind on my blog, which is why, if you enjoy the outdoor and travel content I create, please consider buying me a coffee!
I appreciate your support, which helps me continue to keep this blog alive!