


Hiking the Don Cecil Trail to Lookout Peak in Kings Canyon National Park
Distance (Roundtrip): 11.2 miles / 18.0 km
The Don Cecil Trail to Lookout Peak is the best day hike in Kings Canyon National Park to truly see and experience the Sequoia-Kings Canyon Wilderness Area without committing to anything more involved.
That being said, the Don Cecil Trail is arguably the most challenging day hike in the Cedar Grove District of Kings Canyon, as most other adventures that are similar or longer in distance are often treated as overnight hikes.
To this point, the Don Cecil Trail is not for the faint of heart, especially if you plan to climb Lookout Peak at the end. With that in mind, I can honestly say that the Don Cecil Trail isn’t worth the effort if you decide against scrambling up the peak.
Therefore, the Don Cecil Trail should only be attempted by those who are prepared to ascend the roughly 3,850 ft (1,173 m) of constant climbing, and who are comfortable with route finding and scrambling the moderate Class 3 terrain at the end, in order to summit Lookout Peak.
U.S. National Park Pass
Did you know that the same America the Beautiful Pass that grants access to all 63 U.S. National Parks can be purchased in advance at REI?
Yes, you can save time when you arrive by purchasing your National Park pass, along with your other outdoor gear, at REI before traveling to the park!


Don Cecil Trailhead Parking
Parking for the Don Cecil Trailhead is located directly off Highway 180 in the Cedar Grove District of Kings Canyon National Park, about 0.1 miles (0.2 km) past the turn into Cedar Grove Village.
That being said, be careful along the highway when beginning or ending the hike, as visitors who aren’t aware of the trailhead tend to drive much faster than the posted speed limit.
Google Maps Directions: Don Cecil Trailhead
Hiking Checklist - Sequoia-Kings Canyon
Here is a complete list of must-have things that you will want for any hike in Sequoia and Kings Canyon National Park.
That being said, bear spray is purposefully excluded from this list because, while the Sierra Nevadas are home to a large black bear population, bear spray is not allowed in either Sequoia or Kings Canyon National Park.
Osprey 3L Water Bladder - The Osprey 3L water bladder is the most universal hiking and backpacking water bladder on the market, and it’s my go-to because of the slide-off seal that allows it to be quickly filled from the top. Additionally, individual parts are easily replaceable, such as the bite valve.
Blister / Heel Protectors - I swear by these cheap, amazing heel protectors to prevent blisters for nearly every kind of hiking and backpacking that I do!
Black Diamond Headlamp - Personally, I recommend the Black Diamond Storm because it is one of the brightest, lightest, and longest-lasting headlamps on the market—and trust me, the weight-to-battery-life ratio really does matter!
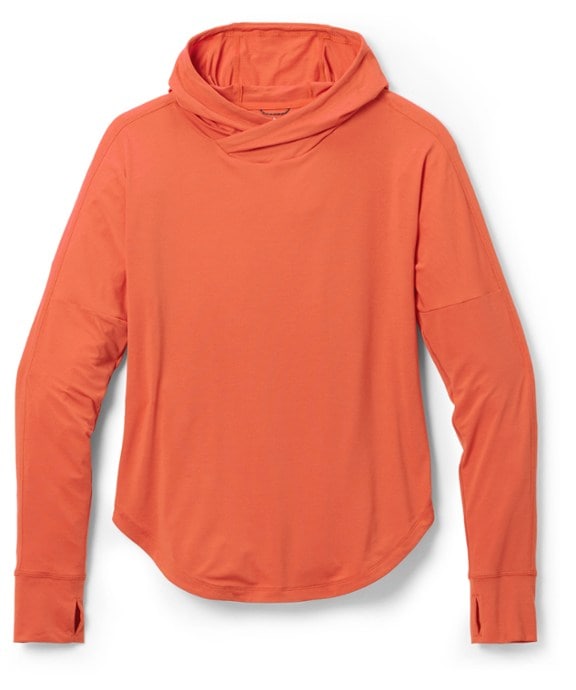
Hiking / Trail Running Shoes - Depending on the type of trail, I prefer to use either the Keen Targhee for longer, more rugged hiking or the HOKA Zinal Trail-Running Shoe for lighter, less intense trails. In either case, both have been amazing to me for many years across countless environments, and both can be found in men’s and women’s sizes. - (Men’s Keen / Women’s Keen) (Men’s HOKA / Women’s HOKA)
Waterproof Rain Shell - You never know when it may rain, and I’ve learned over the years that a rain shell is far better than a rain jacket. By this, I mean that it’s best to have something that the water will roll right off of, which is why I recommend the Patagonia Torrentshell 3L available in both men’s and women’s sizes.
High SPF Sunscreen - Packing high-SPF sunscreen is a must for long days outside!


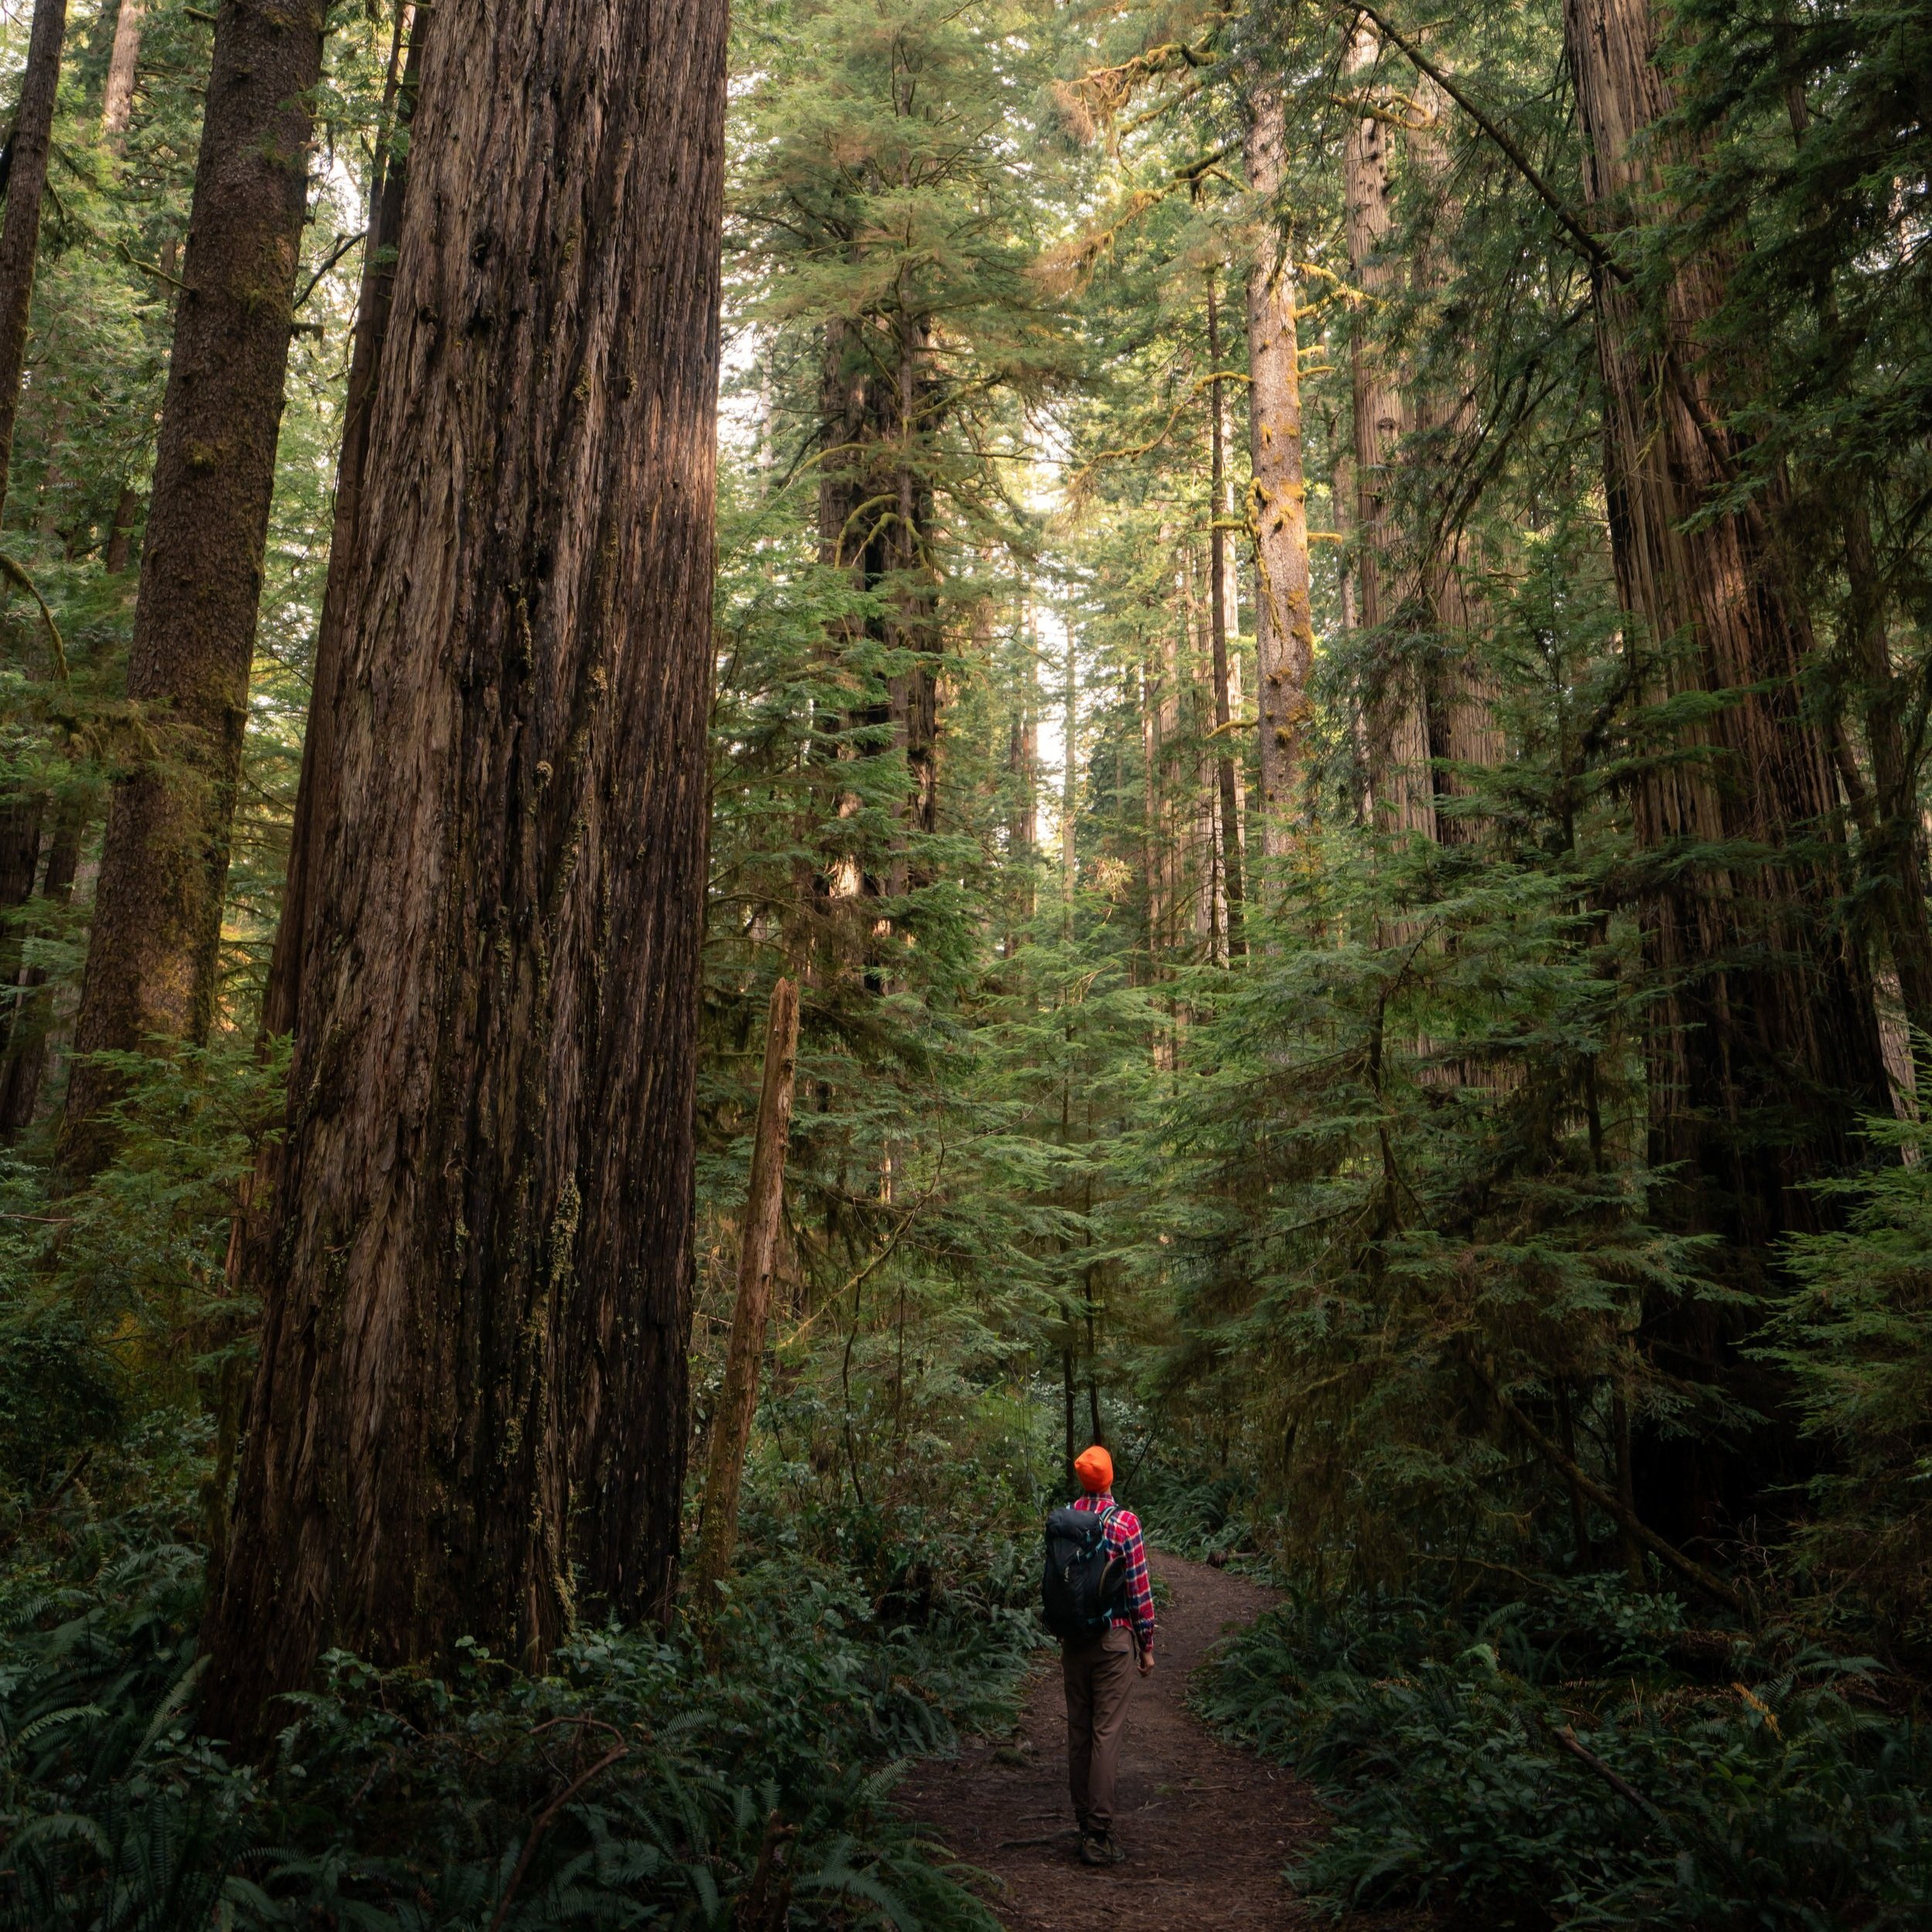
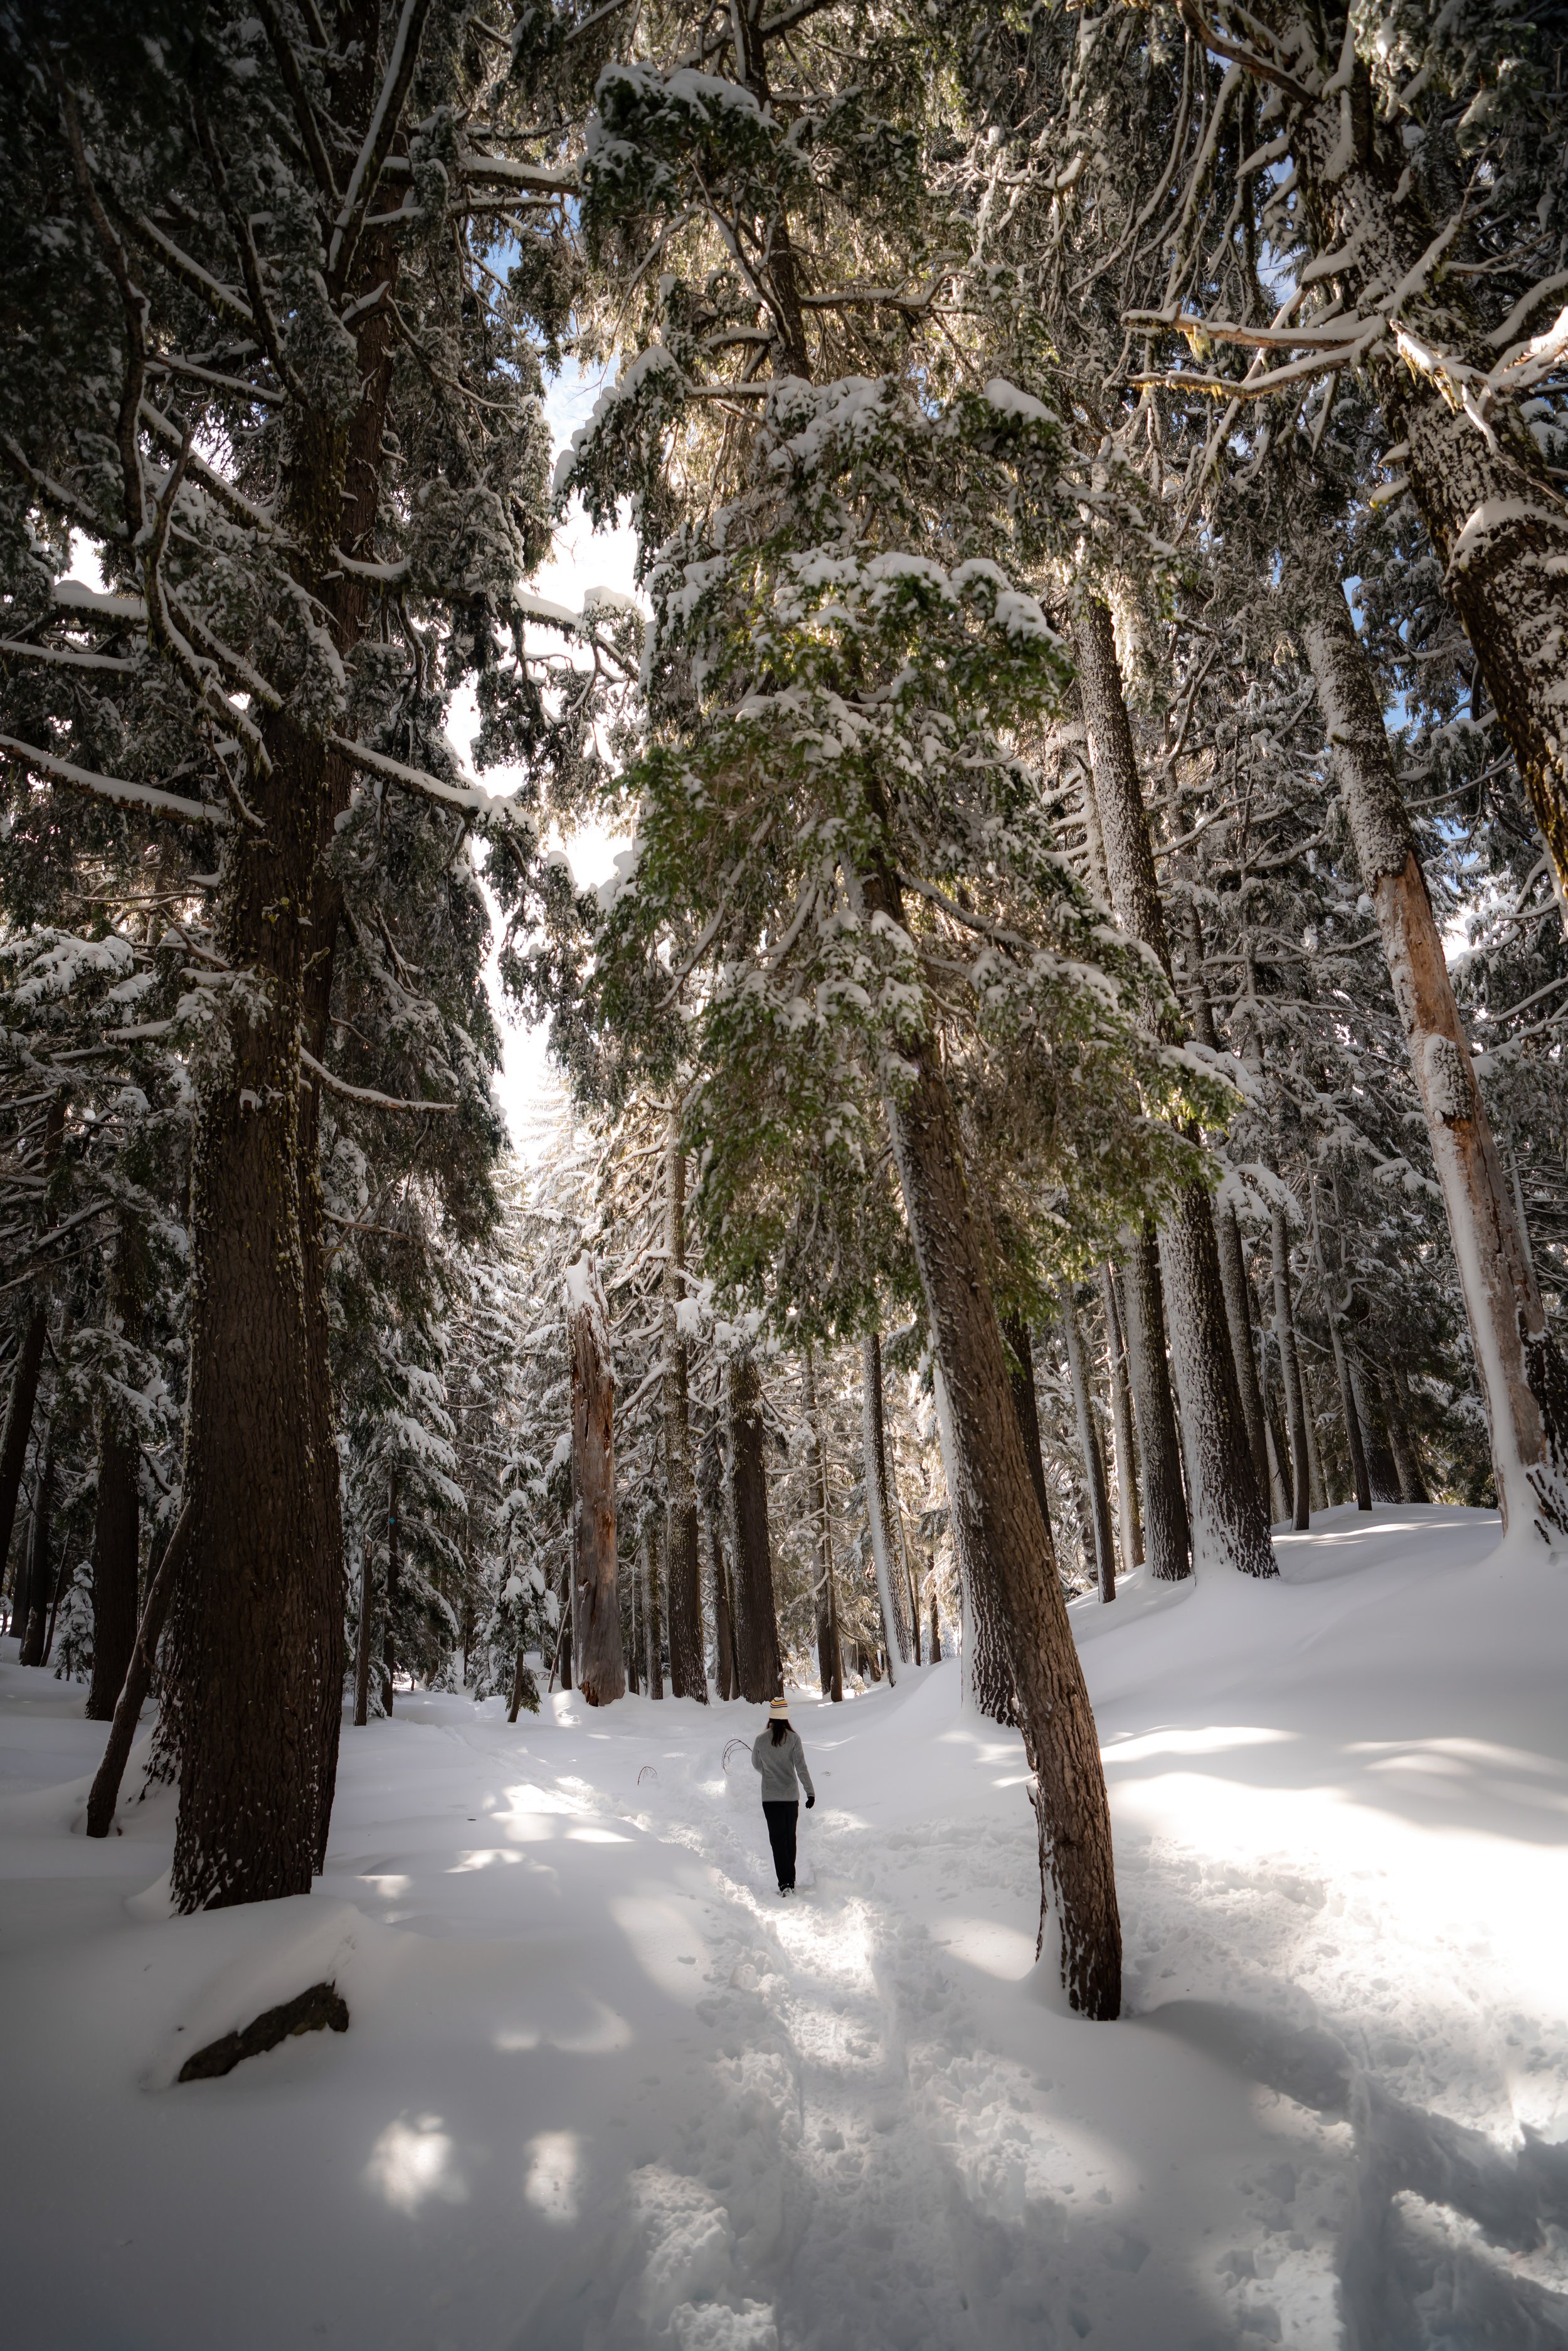
Hiking the Don Cecil Trail
Since the Don Cecil Trail is one of the longest day hikes in Cedar Grove, it’s important to get an early start because, in my experience, it has always taken much longer than anticipated to hike roundtrip to Lookout Peak.
Upon leaving the trailhead, the Don Cecil Trail begins climbing almost immediately and remains fairly constant for nearly the entire hike, with the steepest sections being the final scramble up to Lookout Peak.
Heliport Road
At roughly 0.25 miles (0.4 km), the Don Cecil Trail crosses a service road that leads to the Cedar Grove heliport.
Here, go straight across the road to continue higher.
After the service road, there are no more junctions on the Don Cecil Trail until the trail reaches the Kings Canyon park boundary at the base of Lookout Peak.
Sheep Creek
Since much of the Don Cecil Trail can look the same, the Sheep Creek bridge serves as a nice mental checkpoint, both on the way up and down, located roughly 0.8 miles (1.3 km) from the trailhead.
This is where a small wildfire burning on the slopes of Kings Canyon started becoming more and more visible.
Since the Don Cecil Trail is such a long and exposed trail, I highly recommend hiking with a hooded sun shirt for protection.
On top of this, three or more liters of water are essential, unless you plan to filter in one of the two small streams that the trail passes over.


Then, with almost no warning, a rattlesnake began to make its way across the trail, which is just a reminder to be mindful of where you walk, as they can be very easy to miss.
After the much larger Sheep Creek, the only other 'reliable' water source on the Don Cecil Trail is this small fork of the creek to the west.
That being said, be sure to carry a filtration/ purification method if you don’t plan to hike with all your water from the start.


This is where Lookout Peak begins to feel close, but even then, the scramble up to the summit is located on the far southern (left) end from where this photo was taken.
Again, I cannot stress how happy I was to have a hooded sun shirt for these hot and exposed sections up Lookout Peak.
Upper Don Cecil Trailhead (Sequoia National Forest)
After a long 4.9 miles (7.9 km) of constant climbing, the Don Cecil Trail reaches the upper Don Cecil Trailhead and the end of the maintained National Park trail.
That being said, the rest of the hike up Lookout Peak follows a sparsely maintained trail for the telecommunication equipment at the top.
Horse Corral Road
Immediately after the park boundary, the Don Cecil Trail meets the very top of Forest Route 14S11, more commonly known as Horse Corral Road.
Here, go right toward Lookout Peak and try to follow the most obvious trail heading uphill.
Lookout Peak Trail
In the beginning, the trail up Lookout Peak appears obvious and straightforward, but this quickly changes the closer you get to the top.
That being said, try to follow the general directions as best as possible, with the expectation that you’ll likely end up making your own path at some point to reach the summit.
As the trail begins to climb the peak, the easiest path to follow veers to the west (left when facing the summit).
This is where the trail up Lookout Peak switches back to the east.
At this point, I find it easiest to climb directly up the steep slope until the summit becomes more visible.
This is what I meant when I said previously that your route may be different from mine.
This 'peak' in the photo below is a false summit.
However, when it becomes visible, I recommend hiking along the slopes to the right (east) to reach the base of the true summit.
This is where the true summit starts to become visible, but there is more to climb that can’t be seen in the photo below.
Once at the base of the true summit, go right once again to scramble up the easiest section to the top.
This is the area where the telecommunication equipment at the top of Lookout Peak starts to come into view.
This final scramble is generally considered to be the most 'difficult' part about climbing Lookout Peak.
However, those who are accustomed to this type of hiking shouldn’t have much difficulty finding a way up.
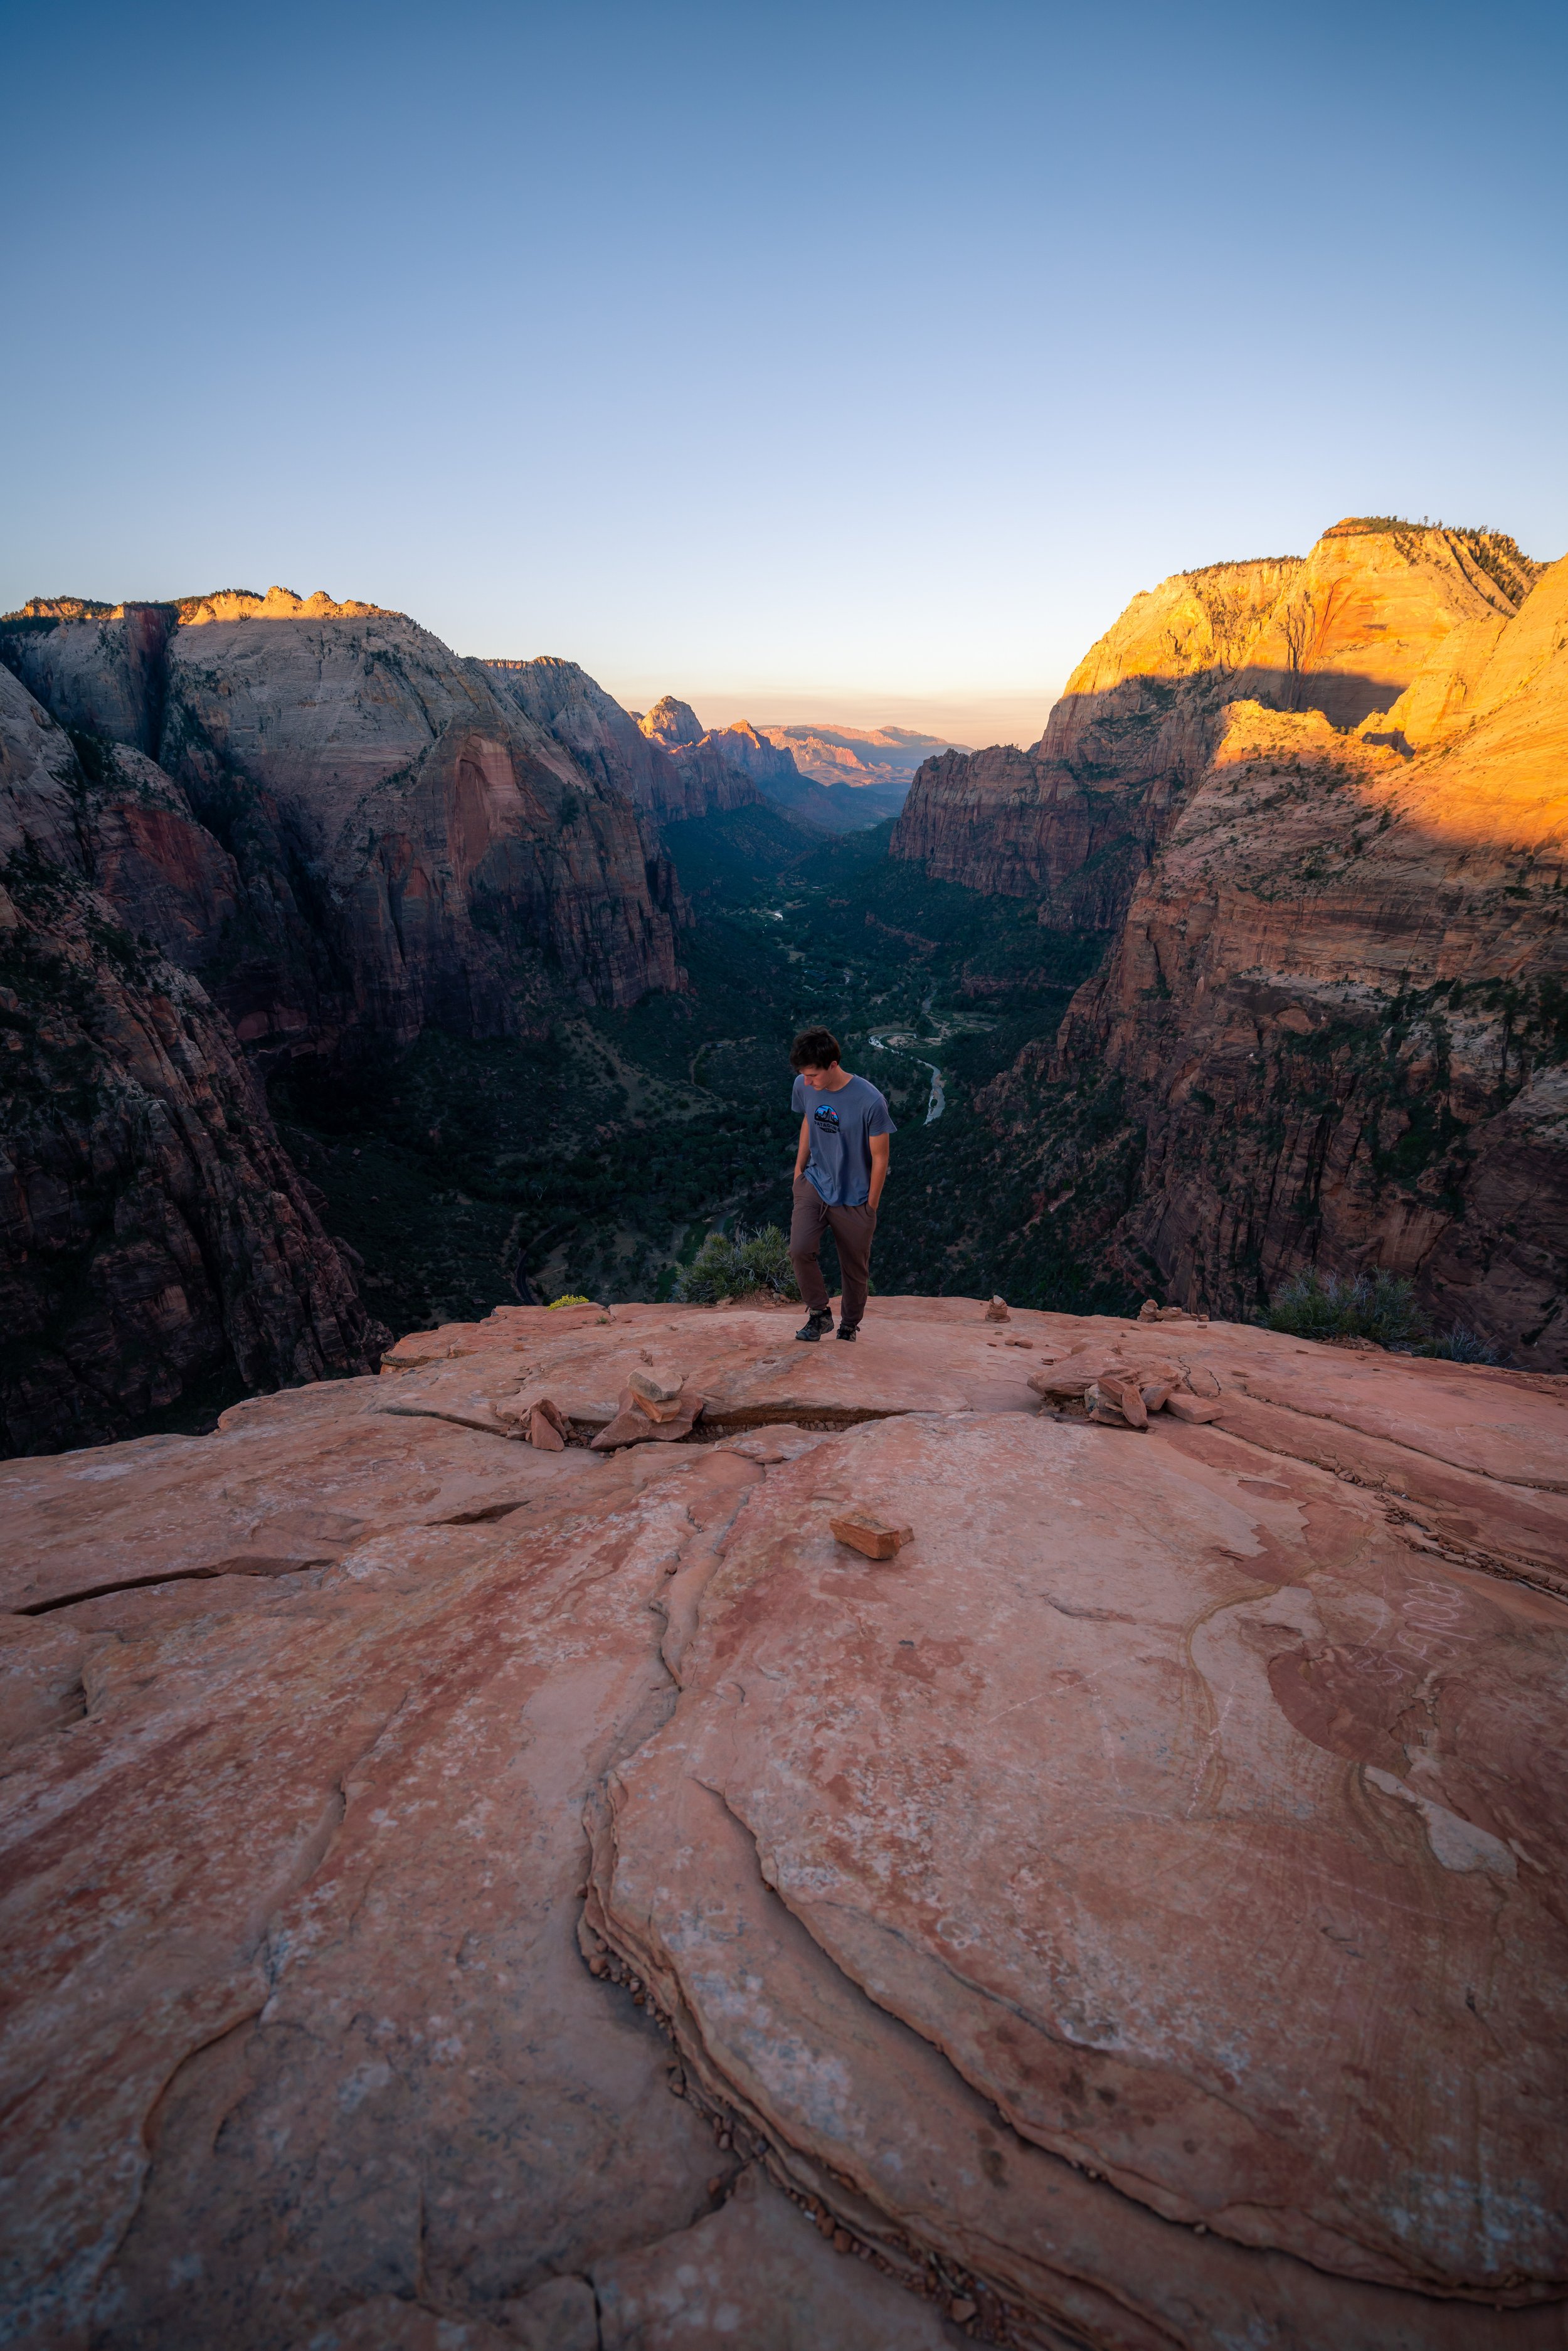
Lookout Peak
According to the National Forest Service, the summit of Lookout Peak on the border of Kings Canyon National Park is 8,531 ft. (2,452 m).
That being said, I personally think the unobstructed, panoramic views of the canyon and the high Sierras to the east are among the best of any day hike that begins from the Cedar Grove District of the park, especially if you catch it on a clear bluebird day, as I have been fortunate enough to see a number of times!
Warning
Afternoon thunderstorms in high Mountain West areas, such as this, are a serious concern during the summer monsoon season.
Even if the weather forecast doesn’t predict any storms, I can tell you from personal experience that they may show up out of nowhere and can put you and your entire group in a very dangerous situation.
I say this to emphasize the importance of turning around at the first sign of lightning, thunder, or even heavy cloud buildup. However, if you ever get caught in a storm unsuspectingly, follow the steps linked below to reduce the risk of getting struck.
U.S. Forest Service: Lightning Safety Tips
More Sequoia-Kings Canyon Adventures
If you’re interested in reading about some more amazing adventures within Sequoia & Kings Canyon National Park, check out my separate posts below!
Sequoia National Park


Kings Canyon National Park


Best Way to Find Places to Stay!
Wherever I travel, I love to start my search for places to stay on VRBO.
Even if I don’t end up booking through them, I think it’s one of the best ways to see what’s in the area!
Washington
Best Way to Book Rental Cars!
I travel quite a bit, and I know firsthand that finding a good rental car deal can be a challenge, but that’s why I recommend comparing all of your options with Discover Cars.
In short, Discover Cars is a well-known, reputable business that allows you to search for the best deal across companies, and they have the best full-refund cancellation policy I’ve ever seen, valid up to 72, or sometimes even 48, hours prior to your reservation!
Book Here: Discover Cars
Discover Cars!
Safety
Most importantly, Sequoia and Kings Canyon National Park is bear country, and while hiking in black bear territory generally presents less of a risk as opposed to hiking with grizzlies, it‘s important to never get complacent.
That being said, bear spray is not allowed within either Sequoia or Kings Canyon National Park, but storing your food properly, both on your person and in your vehicle, is not only necessary but required. For this reason, always keep your food and trash with you, and follow these basic rules from the NPS with regards to food in your vehicle.
On a different note, there is one venomous snake found in both parks known as the Western Rattlesnake, and surprisingly, I have encountered it many times, both in dry landscapes and in the meadows of both parks.
Finally, during winter months, you may be required to carry tire chains or have them on your vehicle before entering either park. In addition, micro-spikes may be necessary to stay safe on certain trails, such as Little Baldy and many others during the early and late summer season.
As always, find the most up-to-date information and conditions on the official Sequoia-Kings Canyon National Park website.
National Park Service: Sequoia & Kings Canyon National Park


U.S. National Parks Pass
Did you know that the same America the Beautiful Pass that grants access to all 63 U.S. National Parks can be purchased in advance at REI?
Yes, you can save time when you arrive by purchasing your National Park pass, along with your other outdoor gear, at REI before traveling to the park!
More U.S. National Parks
If you’d like to read more about some of my best recommendations when visiting other U.S. National Parks, check out some of my other posts below!


Disclaimer
All information provided on this blog is for informational purposes only and is not intended to be a substitute for information or advice from qualified professionals or managing agencies.
Noah Lang Photography LLC makes no representations or warranties regarding the accuracy or completeness of the information provided here, and readers should use their own discretion, judgement, and seek professional advice where it is appropriate.
Furthermore, Noah Lang Photography LLC shall not be held responsible for any injuries, lost individuals, or legal issues arising from the use of information provided on this website, and if applicable, the above safety disclaimer should be referenced to provide a generic overview of the risks involved.
All said, the content on this blog is for the sole use of Noah Lang Photography LLC, and unauthorized use or reproduction of this content is strictly prohibited.
Disclosure
This post is not sponsored.
However, some of the links in this post are affiliate links, which means that I may earn a small commission if a purchase is made through one of those links. This commission comes at no additional cost to you, and I only recommend products that I personally use and believe will add value to my readers. Thank you for your support, which enables me to continue creating more!
To read the full privacy policy, click here.

About This Blog
Noah Lang Photography, also known as @noahawaii, is 100% reader-supported!
I do not accept guest articles or sponsored content of any kind on my blog, which is why, if you enjoy the outdoor and travel content I create, please consider buying me a coffee!
I appreciate your support, which helps me continue to keep this blog alive!