


Hiking the Mt. Daimonji Trail via Nanzen-ji in Kyoto, Japan
Distance (Roundtrip): 3.6 miles / 5.8 km
The Mt. Daimonji Trail in Kyoto, Japan, is a fun and relatively easy day hike that leads to a beautiful west-facing viewpoint at the summit above the city, making Mt. Daimonji one of the best sunset hikes when spending some time in the area!
That said, there is more than one route to the summit of Mt. Daimonji, with the two most popular beginning from Higashiyama Jisho-ji on the northern end and Nanzen-ji on the southern, which is the direction this article is written.
Between these two routes, the main difference comes down to a shorter but steeper route from Higashiyama Jisho-ji, or a slightly longer, more gradual route from Nanzen-ji, which we chose because it was the closest route from Kyoto Station.
Mt. Daimonji Trailhead Access
Getting to the South Mt. Daimonji Trailhead is all about getting to Keage Station and walking to Nanzen-ji, about five to ten minutes away.
From Kyoto Station, it’s two separate subway lines that lead to Keage Station, which are not JR lines—meaning separate tickets need to be purchased at Kyoto and Keage Station to get to and from the hike.
Google Maps Directions: Mt. Daimonji Trailhead (Nanzen-ji)
Hiking Checklist - Kyoto, Japan
Here is a complete list of must-have things that you will want for any hike in Kyoto, Japan.
Osprey 3L Water Bladder - The Osprey 3L water bladder is the most universal hiking and backpacking water bladder on the market, and it’s my go-to because of the slide-off seal that allows it to be quickly filled from the top. Additionally, individual parts are easily replaceable, such as the bite valve.
Blister / Heel Protectors - I swear by these cheap, amazing heel protectors to prevent blisters for nearly every kind of hiking and backpacking that I do!
Black Diamond Headlamp - Personally, I recommend the Black Diamond Storm because it is one of the brightest, lightest, and longest-lasting headlamps on the market—and trust me, the weight-to-battery-life ratio really does matter!
Hiking / Trail Running Shoes - Depending on the type of trail, I prefer to use either the Keen Targhee for longer, more rugged hiking or the HOKA Zinal Trail-Running Shoe for lighter, less intense trails. In either case, both have been amazing to me for many years across countless environments, and both can be found in men’s and women’s sizes. - (Men’s Keen / Women’s Keen) (Men’s HOKA / Women’s HOKA)
Waterproof Rain Shell - You never know when it may rain, and I’ve learned over the years that a rain shell is far better than a rain jacket. By this, I mean that it’s best to have something that the water will roll right off of, which is why I recommend the Patagonia Torrentshell 3L available in both men’s and women’s sizes.
High SPF Sunscreen - Packing high-SPF sunscreen is a must for long days outside!


Hiking the Mt. Daimonji Trail via Nanzen-ji
Once at Nanzen-ji, walk all the way to the back of the Buddhist temple until the aqueduct becomes visible on the right-hand side of the path.
Toward the back of the main path through Nanzen-ji, there are two different bridges leading to the aqueduct on the right-hand side.
Either of these bridges can be taken to continue up to the Mt. Daimonji Trailhead, but the second—shown just after this photo—is slightly more direct.
This is the second bridge where I recommend turning right, as it provides a more direct route to the Mt. Daimonji Trailhead.
Go left on the far side of the aqueduct to continue up to the trailhead.
Saishō-in
Then, go right on the path around Saishō-in, a Buddhist monastery just behind Nanzen-ji.
Mt. Daimonji Trail
Shortly past the Saishō-in Cemetery, the true Mt. Daimonji Trailhead can be found, which is where the trail begins to noticeably gain elevation.
At this first split, go right to continue up toward Mt. Daimonji.
On that note, there are countless different connecting trails on the way up to the Mt. Daimonji Summit, but by following along with this article, you can see almost all the notable junctions to help stay on the correct trail.
After the first stream crossing, go left to remain on the correct trail.
On a different note, the monkeys were quite noticeable when I hiked Mt. Daimonji during the spring Cherry blossom season, but there are numerous warning signs throughout these lower-elevation sections that advise against interacting with them.
About halfway up this final set of stairs, the Mt. Daimonji Trail splits off to the left.
After second/ upper stream crossing, go right to continue hiking up toward Mt. Daimonji.
This next split may be less obvious, but as with all connecting trails on the hike up, it’s generally best to stay on the most obvious well-trafficked path, as Mt. Daimonji is the most popular destination when beginning from Nanzen-ji.
That said, stay to the left at this junction to continue on the correct trail.
Shortly ahead, go right (straight), which will be the last split before the Goldfish Pond.
Mt. Daimonji-Goldfish Pond Junction
Goldfish Pond is the most notable side trail on the way up to Mt. Daimonji, but I can say from my hike, there didn’t appear to be any noticeable life in the pond.
That said, go right (straight) to continue hiking up to the summit.
This is about as steep as it gets on the Mt. Daimonji Trail, as the whole hike from Nanzen-ji is fairly mild overall.
These trail markers can be nice on the hike up, but they can also be easy to trip on if you hike up Mt. Daimonji for sunset, which is truly the best time of day to enjoy the peak, in my opinion.
Therefore, be sure to hike with a good headlamp if catching the sunset from the summit is something that you may be interested in.

Lower Mt. Daimonji-Kyoto Junction
At almost exactly 0.9 miles (1.4 km)—which is also the halfway point—the Mt. Daimonji Trail meets the Kyoto Trail for most of the remaining hike to the summit.
Here, go left to begin the final 0.9 miles (1.4 km) to the top.
If you decide to hike Mt. Daimonji for sunset, be sure to make a mental note or drop a GPS pin, so as not to miss this right-hand turn for Nanzen-ji on the way back down in the dark.
Coming from Hawaiʻi, it was incredibly interesting to see Dicranopteris linearis, a native, indigenous Hawaiian fern, growing outside of the islands.
I say this because, in Hawaiʻi, we call this Uluhe, and it’s the single most common native species in the islands, as it blankets endless swaths of wet, forested, mountainous landscapes across generally uninhabited, rugged areas.
However, when we saw the same Uluhe fern in Japan, it was interesting to us how similar, yet different, the exact same species can look, based on how long the populations have been isolated from one another.
At this split, go left to continue on the Kyoto Trail and remain on the ridgeline.
Then, at this next marked junction, go right to leave the ridgeline, which is where the Kyoto Trail continues.
Next, go straight to continue on the more obvious Mt. Daimonji/ Kyoto Trail.
Lower Mt. Daimonji-Bike Route Junction
With just 0.4 miles (0.6 km) left before the summit, the Mt. Daimonji Trail meets this bike road, where hikers can either go left to follow the road up two switchbacks or go straight to stay on the Kyoto Trail — which is what’s shown below.
We chose to go straight to remain on the Kyoto Trail.
At the junction almost immediately after leaving the road, go left to remain on the ridge.
Upper Mt. Daimonji-Bike Route Junction
This is where the Kyoto Trail and road from below cross at the second switchback.
That said, go straight if you had taken the trail or left if you had taken the road to continue up to Mt. Daimonji.
Upper Mt. Daimonji-Kyoto Junction
This is the second-to-last junction on the hike up to Mt. Daimonji, and it’s where the Kyoto Trail splits away to the left, while the Mt. Daimonji Trail continues straight.
Finally, the Mt. Daimonji Trail comes to this last junction, just 0.1 miles (0.2 km) below the summit.
Go left here to reach the viewpoint shortly ahead.
Mt. Daimonji
According to most sources, Mt. Daimonji stands at roughly 1,529 ft. (466 m), with an expansive viewpoint that overlooks Kyoto to the west.
This is what makes Mt. Daimonji one of the best sunset hikes in Kyoto—which, as previously mentioned, is the best time of day to hike the trail, in my opinion!
Hazy skies are certainly not out of the ordinary for Japan, but they sure do make for a pretty sunset when there are no clouds!
Best Way to Find Places to Stay!
Wherever I travel, I love to start my search for places to stay on VRBO.
Even if I don’t end up booking through them, I think it’s one of the best ways to see what’s in the area!
Washington
Best Way to Book Rental Cars!
I travel quite a bit, and I know firsthand that finding a good rental car deal can be a challenge, but that’s why I recommend comparing all of your options with Discover Cars.
In short, Discover Cars is a well-known, reputable business that allows you to search for the best deal across companies, and they have the best full-refund cancellation policy I’ve ever seen, valid up to 72, or sometimes even 48, hours prior to your reservation!
Book Here: Discover Cars
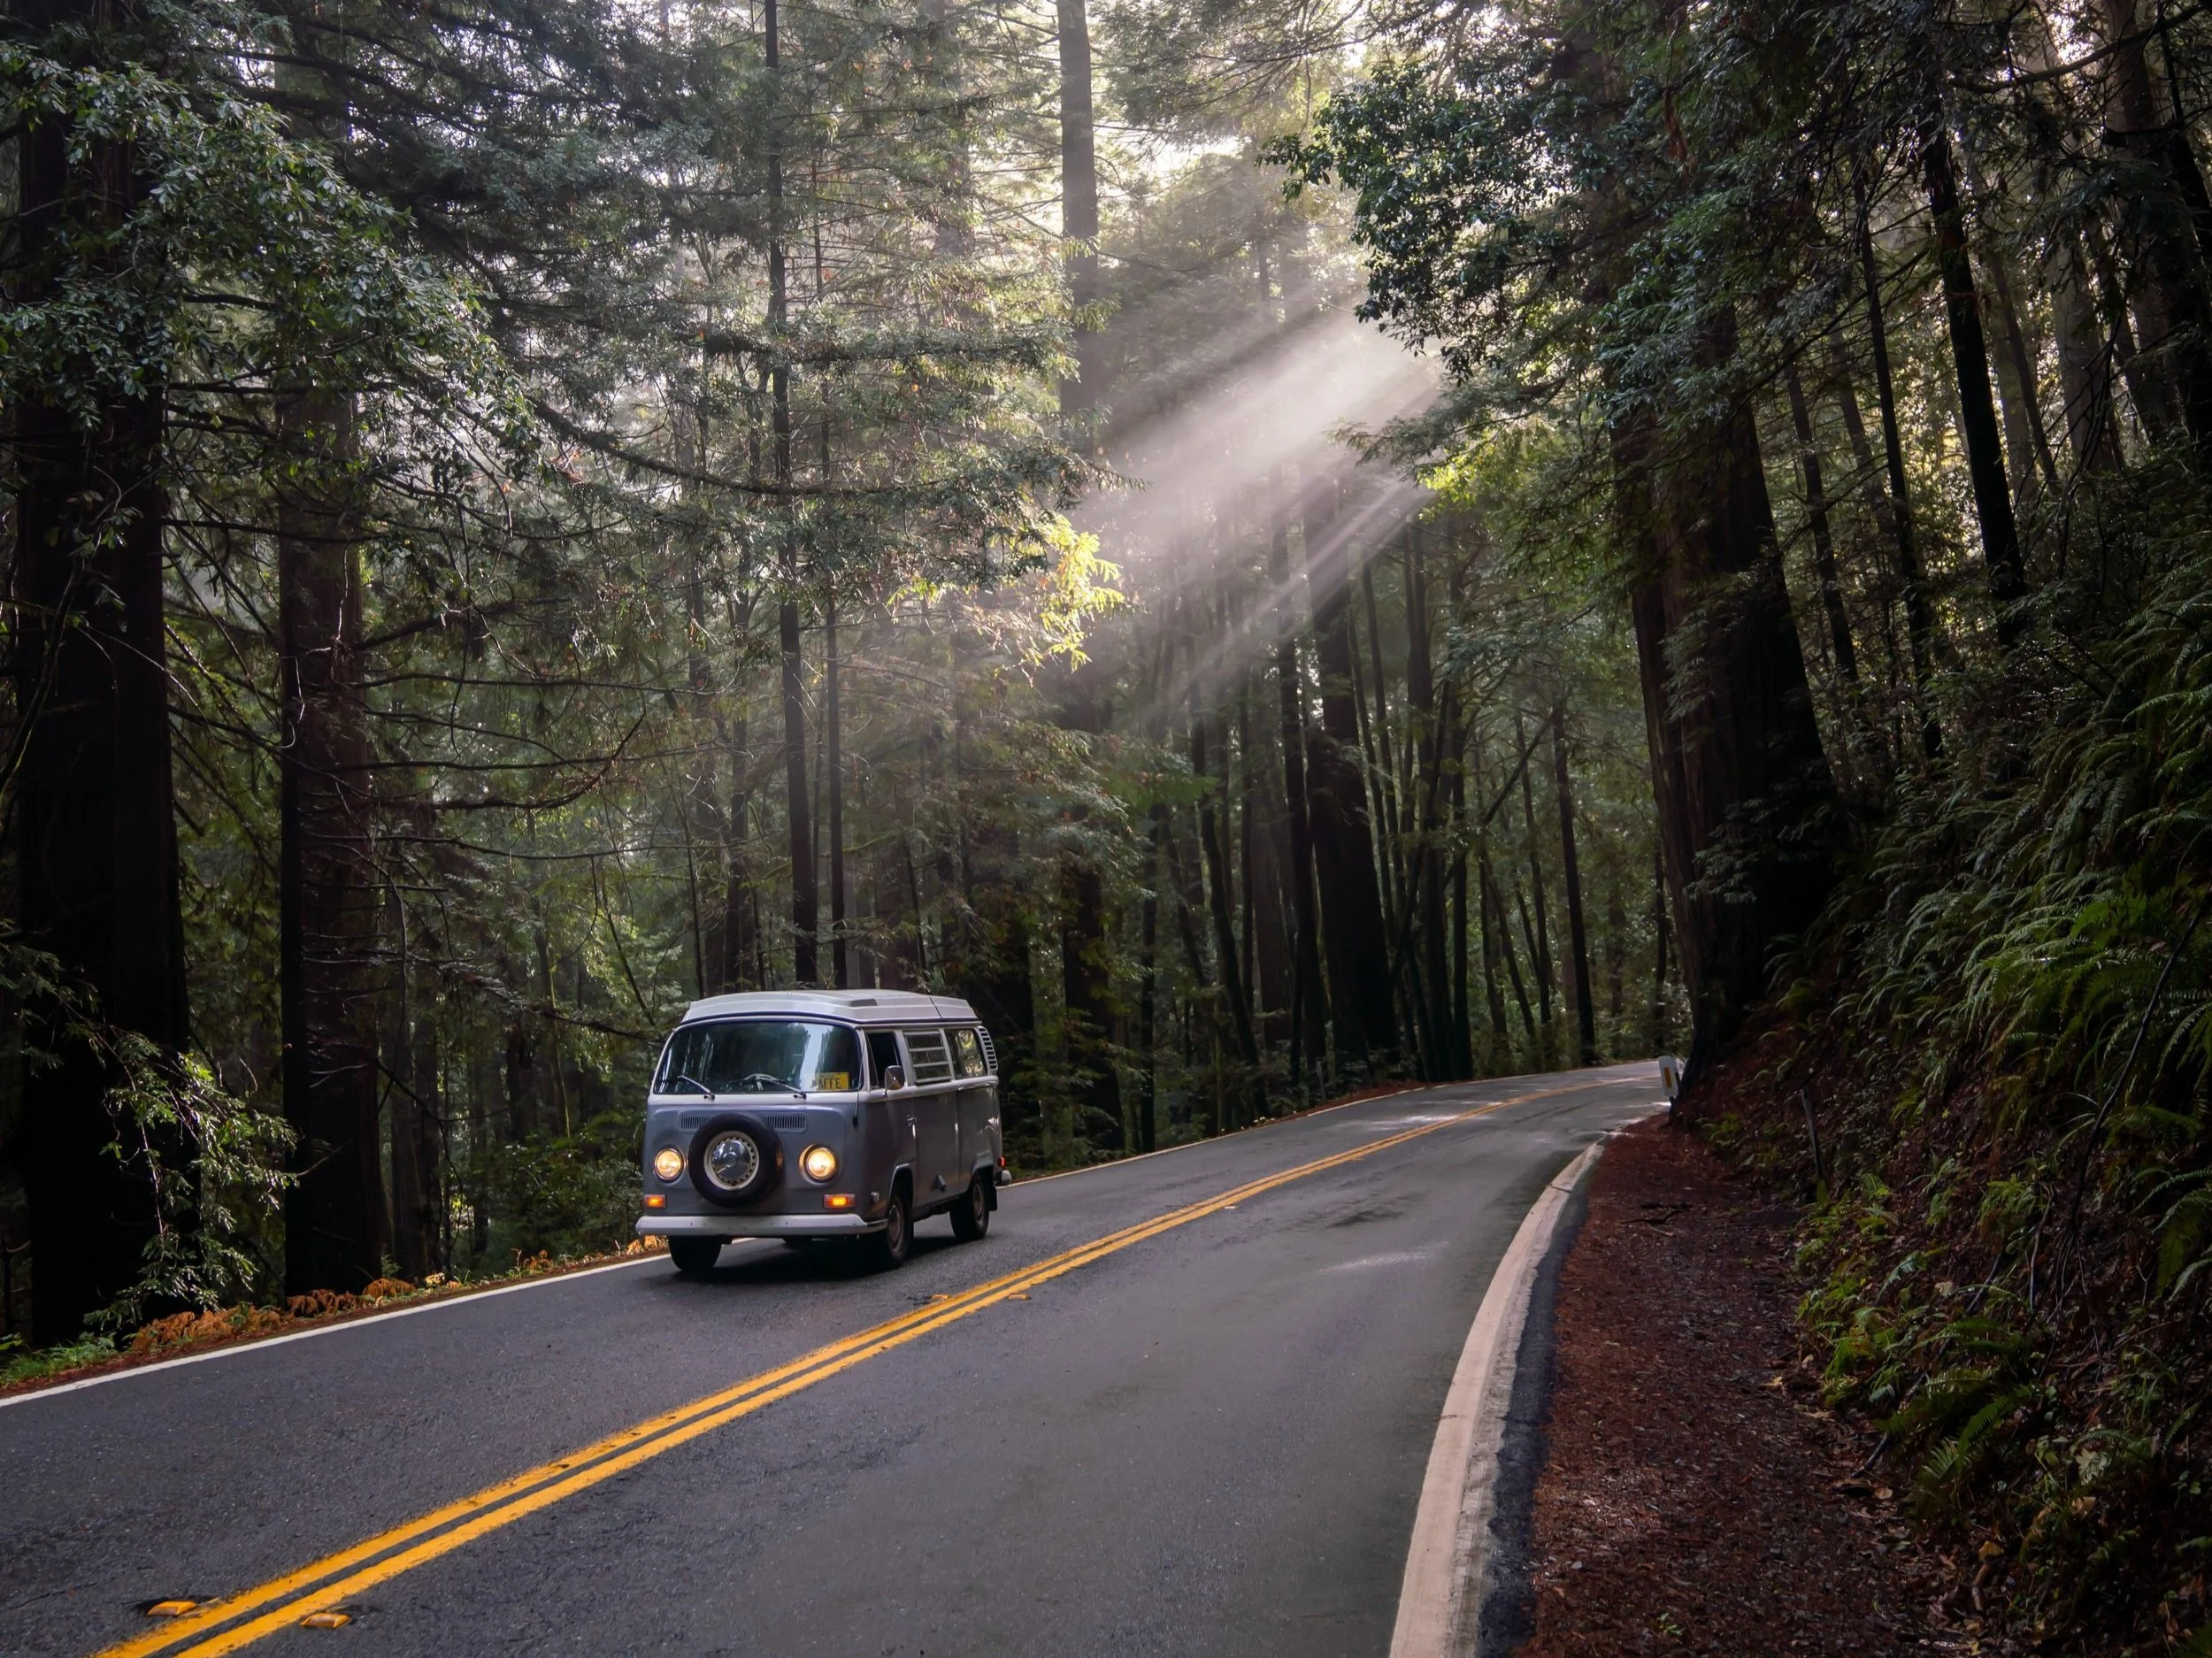
Discover Cars!
Safety
It’s certainly no secret that Japan is a renowned international destination for travelers from around the world, which largely comes down to one big reason: safety!
Yes, Japan is one of the safest international destinations that one can travel to—even safer than the United States in many aspects.
This is because politeness, respect, cleanliness, and hospitality are among the most deeply rooted parts of Japanese culture, and this is often felt from the moment visitors land to the time they depart.
All this to say, crime is low in Japan, and Tokyo—the biggest city in the world—is arguably the safest city to walk around, day or night.
Now, I do not say all this to encourage complacency, as being smart and aware of your surroundings is important when traveling anywhere in the world. However, visitors can generally feel at ease, even with the language barrier, as Japan is truly one of the best and safest destinations in the world—something I have consistently felt over numerous trips to different parts of the country.
To shift to a more outdoor-oriented safety discussion, Japan is home to the Japanese Black Bear, numerous venomous snakes, insects, spiders, and the highly venomous Blue-ringed Octopus. Be sure to check the areas you plan to visit for any outdoor wildlife information to be aware of.
Above all else, find the most up-to-date information and conditions on the official U.S. State Department website.
U.S. Department of State: Japan
Disclaimer
All information provided on this blog is for informational purposes only and is not intended to be a substitute for information or advice from qualified professionals or managing agencies.
Noah Lang Photography LLC makes no representations or warranties regarding the accuracy or completeness of the information provided here, and readers should use their own discretion, judgement, and seek professional advice where it is appropriate.
Furthermore, Noah Lang Photography LLC shall not be held responsible for any injuries, lost individuals, or legal issues arising from the use of information provided on this website, and if applicable, the above safety disclaimer should be referenced to provide a generic overview of the risks involved.
All said, the content on this blog is for the sole use of Noah Lang Photography LLC, and unauthorized use or reproduction of this content is strictly prohibited.
Disclosure
This post is not sponsored.
However, some of the links in this post are affiliate links, which means that I may earn a small commission if a purchase is made through one of those links. This commission comes at no additional cost to you, and I only recommend products that I personally use and believe will add value to my readers. Thank you for your support, which enables me to continue creating more!
To read the full privacy policy, click here.

About This Blog
Noah Lang Photography, also known as @noahawaii, is 100% reader-supported!
I do not accept guest articles or sponsored content of any kind on my blog, which is why, if you enjoy the outdoor and travel content I create, please consider buying me a coffee!
I appreciate your support, which helps me continue to keep this blog alive!