


Climbing Mt. Sneffels via Yankee Boy Basin (Both Routes) in Ouray, Colorado
Distance (Roundtrip from Upper TH): 2.2 - 2.8 miles / 3.5 - 4.5 km
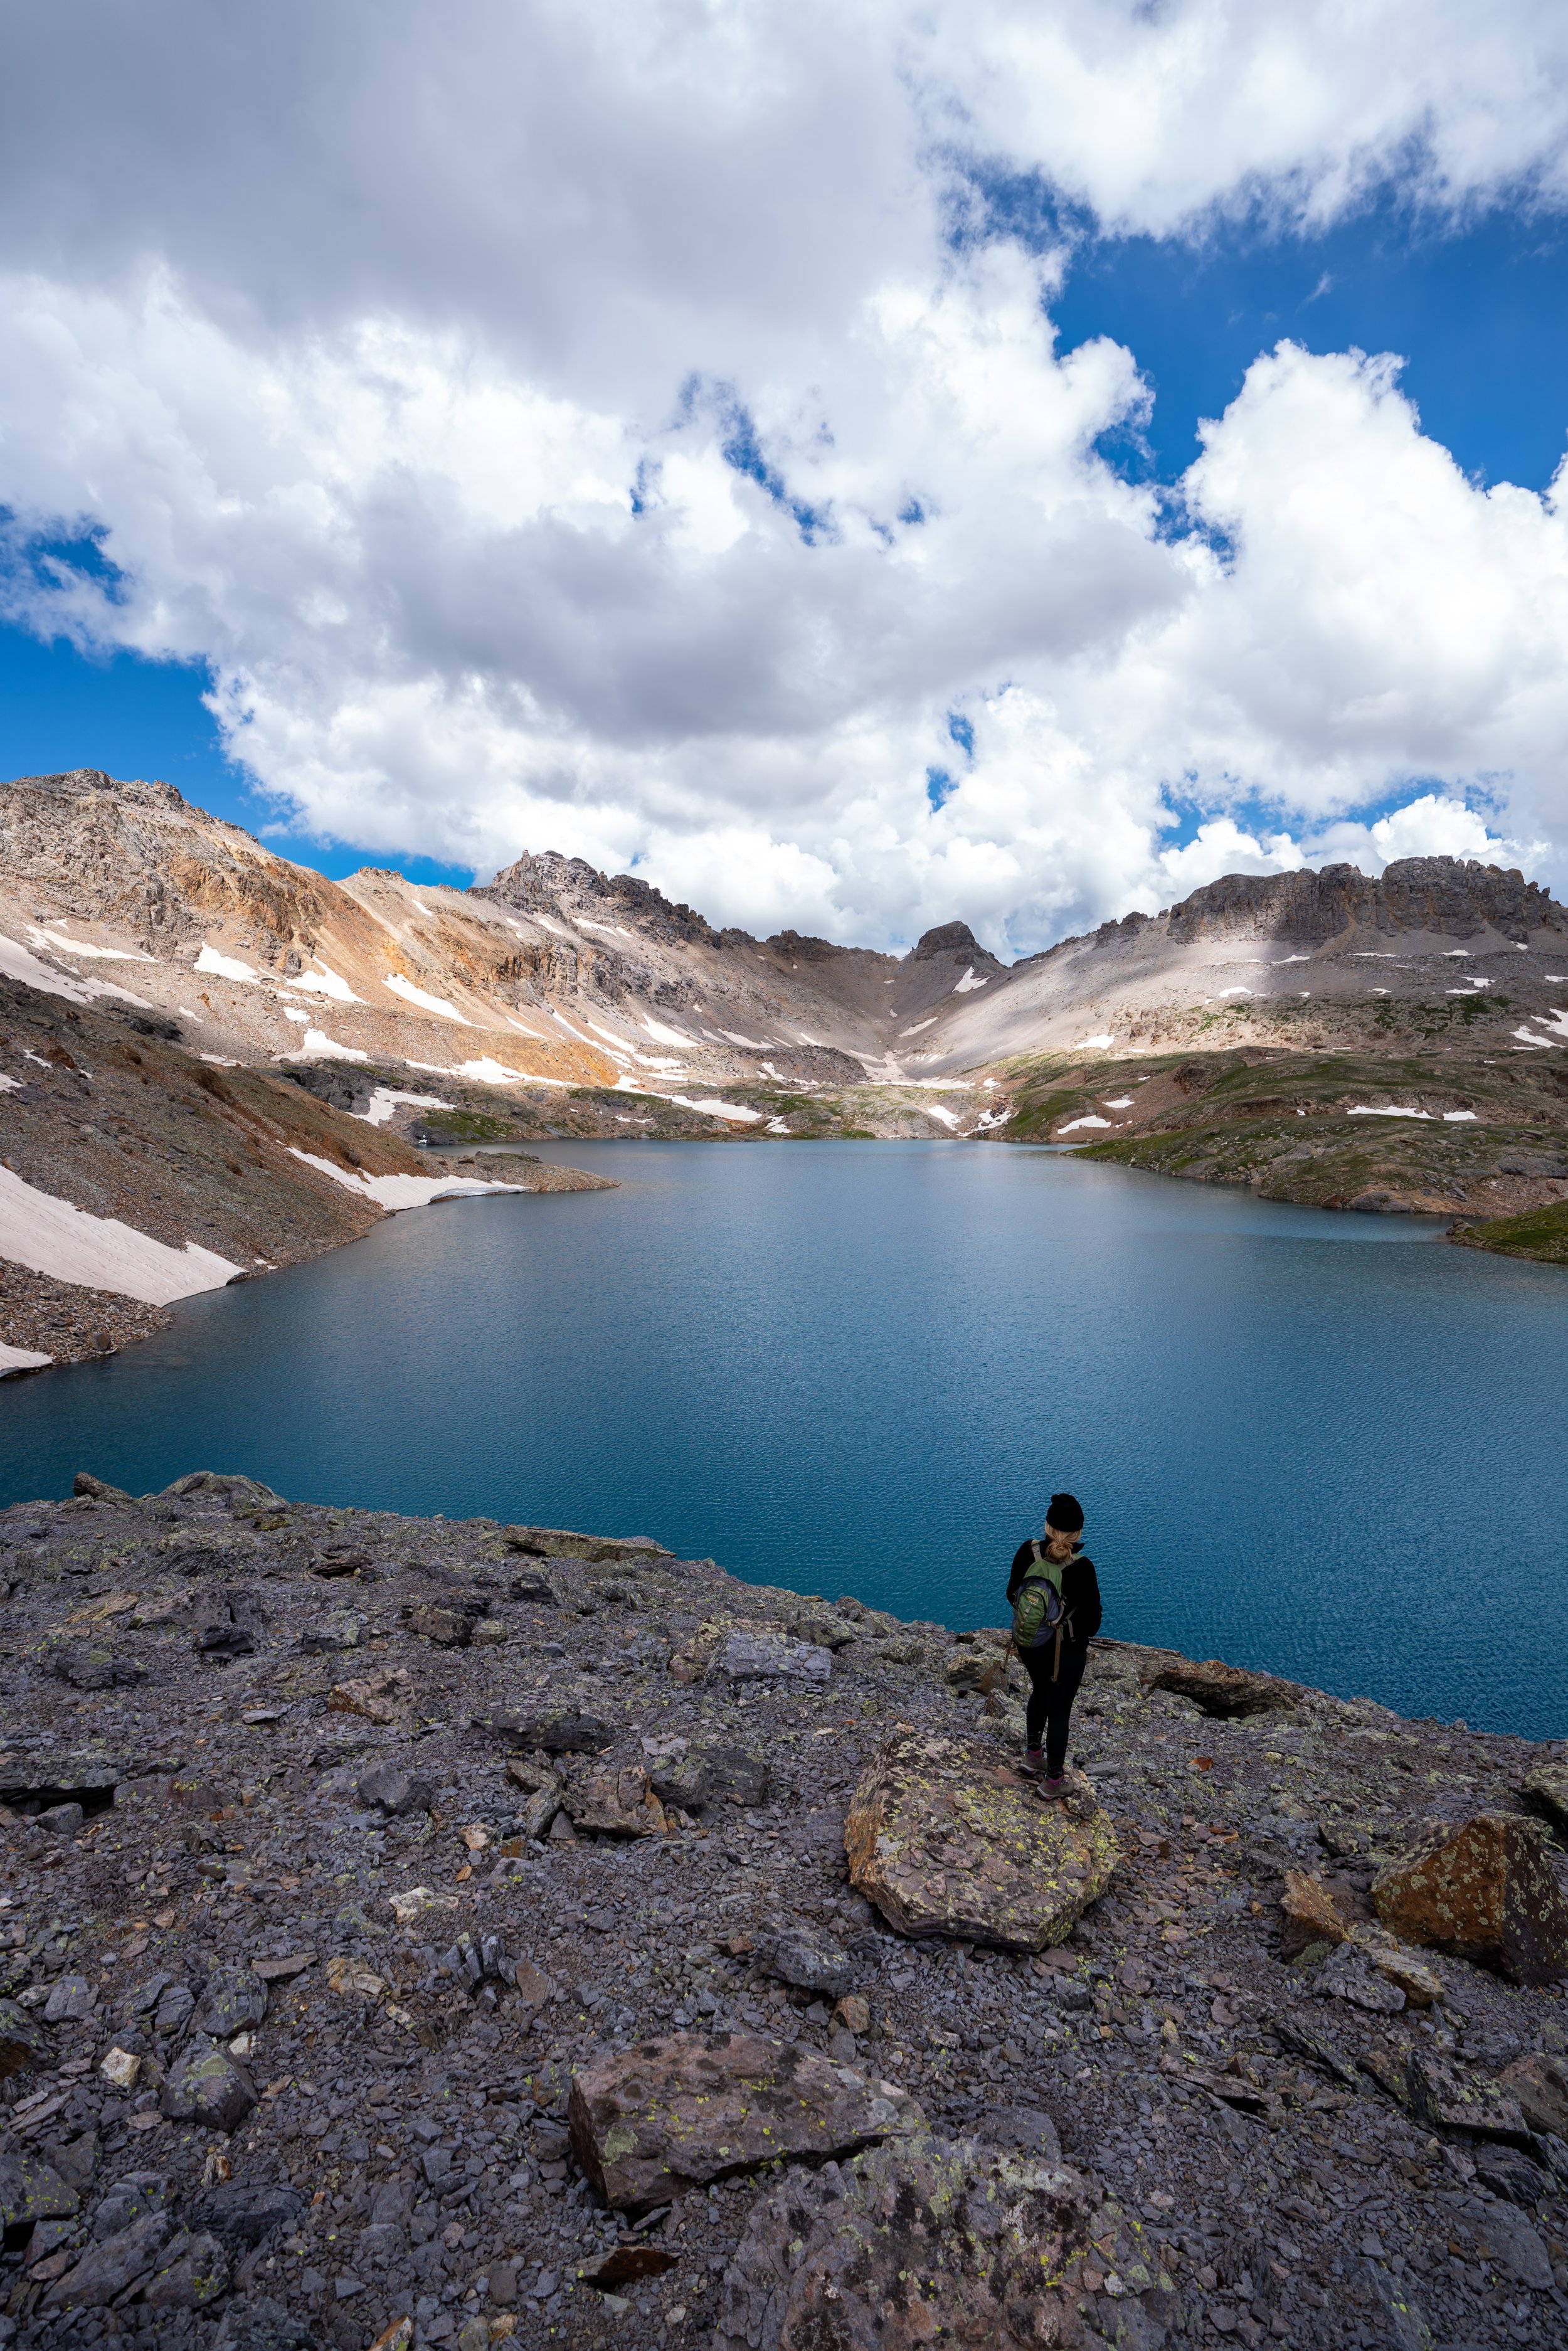
Mt. Sneffels, in the San Juan Mountains of southwestern Colorado, is one of the most beautiful 14ers in the state, largely due to the fact that the summit sits directly above the stunning Blue Lakes Basin!
That being said, the Blue Lakes Trail is just one of two common approaches to climb Mt. Sneffels, but since the trail via Blue Lakes Basin adds at least 5.5 miles (8.9 km) to the approach, Yankee Boy Basin is by far the most popular trailhead to climb Mt. Sneffels, regardless of the route you choose to take from there.
In any case, my friend and I climbed Mt. Sneffels via the South Slopes Route, returning later on the Southwest Ridge. This is why the roundtrip distance can vary so much, which is especially variable based on how far you can drive up Yankee Boy Basin.
Mt. Sneffels Trailhead Parking
Parking for Mt. Sneffels Trail in Yankee Boy Basin is truly as far up Yankee Boy Basin Road as you feel comfortable driving.
These photos are of the upper trailhead, which we reached in a stock Jeep, but that was honestly pushing the limits of the Jeep for at least the last mile.
This is all to say that the more common Mt. Sneffels trailhead is 1.8 miles (2.9 km) below this upper trailhead shown here.
Google Maps Directions: Mt. Sneffels Trailhead
Hiking Checklist - San Juan Mountains
Here is a complete list of must-have things that you will want for any hike in the San Juan Mountains.
Bear Spray & Holster - If you aren’t flying, don’t rent bear spray! It’s a waste of money. Prepare ahead of time by buying your own, as this may be one of the most important items on this list.
Osprey 3L Water Bladder - The Osprey 3L water bladder is the most universal hiking and backpacking water bladder on the market, and it’s my go-to because of the slide-off seal that allows it to be quickly filled from the top. Additionally, individual parts are easily replaceable, such as the bite valve.
Black Diamond Headlamp - Personally, I recommend the Black Diamond Storm because it is one of the brightest, lightest, and longest-lasting headlamps on the market—and trust me, the weight-to-battery-life ratio really does matter!
Hiking / Trail Running Shoes - Depending on the type of trail, I prefer to use either the Keen Targhee for longer, more rugged hiking or the HOKA Zinal Trail-Running Shoe for lighter, less intense trails. In either case, both have been amazing to me for many years across countless environments, and both can be found in men’s and women’s sizes. - (Men’s Keen / Women’s Keen) (Men’s HOKA / Women’s HOKA)
Blister / Heel Protectors - I swear by these cheap, amazing heel protectors to prevent blisters for nearly every kind of hiking and backpacking that I do!
Waterproof Rain Shell - You never know when it may rain, and I’ve learned over the years that a rain shell is far better than a rain jacket. By this, I mean that it’s best to have something that the water will roll right off of, which is why I recommend the Patagonia Torrentshell 3L available in both men’s and women’s sizes.
High SPF Sunscreen - Packing high-SPF sunscreen is a must for long days outside!


Hiking the Mt. Sneffels Trail
From the Upper Mt. Sneffels Trailhead, we began hiking toward the South Slopes Route with the idea that we would decide which route to take after reaching the split at the 0.4-mile (0.6 km) mark.
Mt. Sneffels-Blue Lakes Junction
After 0.4 miles (0.6 km), the Mt. Sneffels Trail via the South Slopes splits from the Blue Lakes Trail, which leads to Blue Lakes Pass and the Southwest Ridge.
Here, we decided to go right up the South Slopes, as the route didn’t seem particularly challenging, just loose.
South Slopes
This section up the South Slopes of Mt. Sneffels climbs roughly 750 ft. (229 m) in just 0.5 miles (0.8 km) from the Blue Lakes junction to the saddle above.
As the trail up the South Slopes gets steeper, most agree that a helmet is needed from this point to the summit of Mt. Sneffels, especially if there are groups above you!


In my opinion, navigating these steep and slippery sections was mostly a challenge to avoid knocking rocks down on other climbers.
However, if you’re climbing the South Slopes of Mt. Sneffels when there’s good snow, I have to imagine that booting up these sections may be easier compared to summer conditions, as long as you’re prepared with crampons and an ice axe.


Mt. Sneffels Saddle
The Mt. Sneffels Saddle sits at roughly 13,400 ft. (4,084 m), and in my opinion, this is when the hardest climbing is over.
I say this because the final ascent up the southeast gully is much easier to navigate, as the rock is much more solid than the South Slopes up to this point.
After the Mt. Sneffels Saddle, there is only another 0.2 miles (0.3 km) to reach the summit.
The southeast gully is steep, but I don’t think it’s nearly as steep as the sections below the saddle.
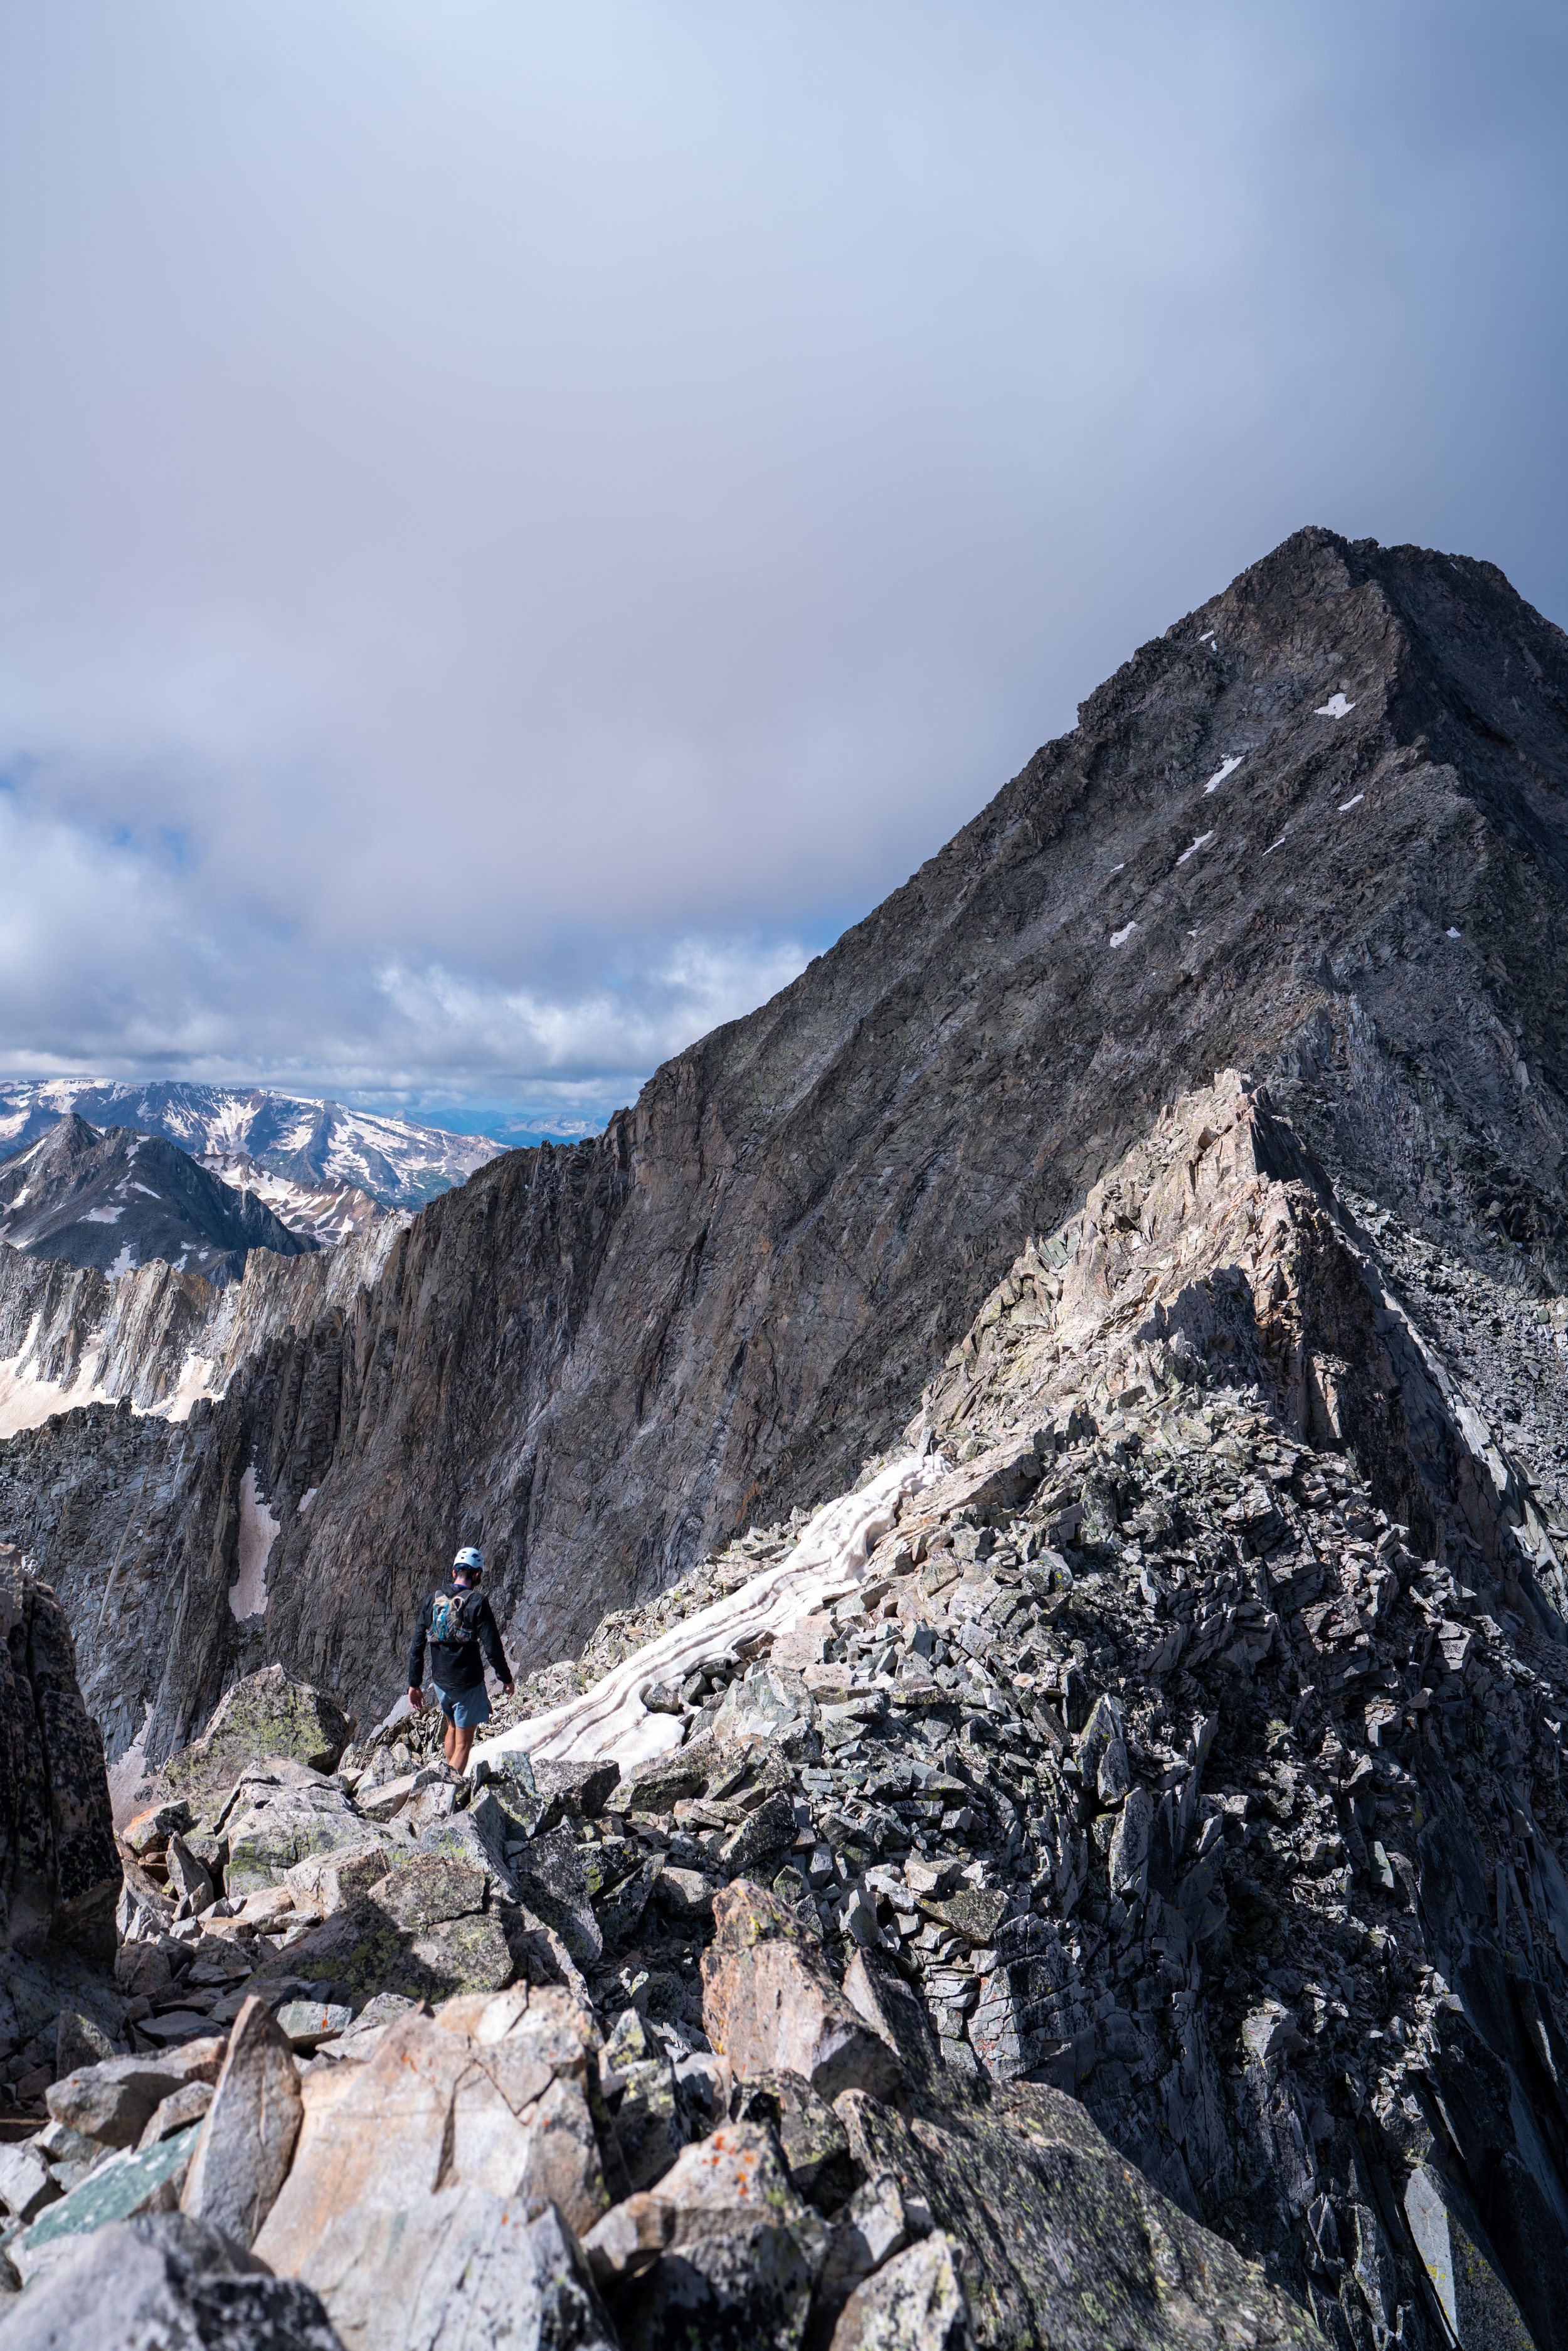
'V' Notch
Once near the top of the gully, the South Slopes Route makes a hard left turn toward the most infamous feature on the entire route: the 'V' Notch.
The 'V' Notch on Mt. Sneffels sits right below the summit, and it is often seen as the most difficult part of the route among climbers because of the mild exposure that it poses.
That being said, most who are comfortable on this type of terrain shouldn’t have an issue navigating up and down, as there are a few different places to find hand and footholds that make it fairly manageable.
This is the view looking down the gully to the left, as well as the view from the top of the 'V' Notch.
That said, it’s generally this exposure to the left that causes climbers to overthink the short scramble through this section.
After the 'V' Notch, the route to the summit becomes fairly straightforward, with both the South Slopes and Southwest Ridge routes converging just before the top of Mt. Sneffels.
Mt. Sneffels
According to 14ers.com, the summit of Mt. Sneffels stands at 14,155 ft. (4,314 m), and I personally think that the view from the top of Mt. Sneffels is one of the prettier views from any 14er in Colorado.
However, I may be biased because I think the San Juans are the most beautiful mountains in the state!
Warning
Afternoon thunderstorms in high Mountain West areas, such as this, are a serious concern during the summer monsoon season.
Even if the weather forecast doesn’t predict any storms, I can tell you from personal experience that they may show up out of nowhere and can put you and your entire group in a very dangerous situation.
I say this to emphasize the importance of turning around at the first sign of lightning, thunder, or even heavy cloud buildup. However, if you ever get caught in a storm unsuspectingly, follow the steps linked below to reduce the risk of getting struck.
U.S. Forest Service: Lightning Safety Tips
Southwest Ridge
After spending some time on the summit, we decided to climb down the Southwest Ridge instead of the South Slopes Route that we came up, in order to complete the full 2.8-mile (4.5 km) loop.
That being said, I contemplated against posting this section because we got off route after the Kissing Camels before regaining the trail.
However, I figured that since we made this mistake and it was very clear that others did too, I’d share our experience.
If you choose to climb down the Southwest Ridge on Mt. Sneffels, know that the best route to get on the ridge is a bit further below the summit than you may anticipate.
Once on the Southwest Ridge, the climb down gets a bit easier until the route comes to the Kissing Camels gully.
This is where the Mt. Sneffels Trail, via the Southwest Ridge, drops into the Kissing Camels gully.
Kissing Camels
The Kissing Camels feature is fairly unmistakable, and it makes for a nice sign that you’re on the correct route.
It was shortly after this area that we made a mistake on the way down, and to this day, I still haven’t been able to figure out where we were supposed to get through the Little Notch.
Regardless, we continued to scramble down the gully, where the route became the steepest.
These sections were, by far, more challenging than the scrambling on the South Slopes.
After studying the route in the weeks after the climb, it is clear that this is where we got off route. However, we were also not the first to take the path we did.
I would love to know where we missed the Little Notch in the comments below, but either way, we were able to make our route work.
Needless to say, we climbed up the gully to the right, which had obviously seen a lot of traffic, only to learn that we were off route once we reached the top.
This is why I think climbing up the Southwest Ridge would be much more straightforward than climbing down, as we did.
This was the far side of the gully, and since the terrain looked fairly manageable—despite all the loose rock—we decided to push forward, while strategically spacing out from one another.
A helmet is absolutely necessary if you get off route, like we did.
To the left of the tower in the photo below, we were able to leave this gully and get back on the true Southwest Ridge Route.
More than any other part of the climb, helmets were necessary here!
We took the lower route to the right.
Once out of the gully, it was easy enough to walk back to the true Southwest Ridge and continue down to Blue Lakes Pass.
This is when we got back on route and were finally able to look up to see where we might have gone wrong.
I guess if we can get off route with a dog, Mt. Sneffels isn’t too difficult!
Blue Lakes Pass (Mt. Sneffels Wilderness Boundary)
Once at Blue Lakes Pass, go left to continue down to Yankee Boy Basin and the Mt. Sneffels Trailhead.
Blue Lakes-Wrights Lake Spur Junction
The Wrights Lake Spur is the only split on the Mt. Sneffels Loop Trail before reaching the original split between the two most popular routes.
That being said, go left to continue back to the beginning.
Mt. Sneffels-Blue Lakes Junction
Just 0.2 miles (0.3 km) after the Wrights Lake junction, the Blue Lakes Trail reaches the original split where the Mt. Sneffels Loop began.
From here, it’s only another 0.4 miles (0.6 km) to return to the Upper Yankee Boy Basin Trailhead.
Yankee Boy Basin Trailhead
Overall, Mt. Sneffels was a fun, short, and, in my opinion, very easy Colorado 14er compared to others in the state.
Some might disagree because of the steepness alone, but the approach from Upper Yankee Boy Basin is essentially negligible, which is something that can’t be said about others in Colorado, like the long approach to get up Blanca Peak.
More Nearby Adventures
If you’re interested in reading about some more amazing adventures nearby, check out my separate posts below!


Best Way to Find Places to Stay!
Wherever I travel, I love to start my search for places to stay on VRBO.
Even if I don’t end up booking through them, I think it’s one of the best ways to see what’s in the area!
Washington
Best Way to Book Rental Cars!
I travel quite a bit, and I know firsthand that finding a good rental car deal can be a challenge, but that’s why I recommend comparing all of your options with Discover Cars.
In short, Discover Cars is a well-known, reputable business that allows you to search for the best deal across companies, and they have the best full-refund cancellation policy I’ve ever seen, valid up to 72, or sometimes even 48, hours prior to your reservation!
Book Here: Discover Cars
Discover Cars!
Safety
Mountain Ranges across Colorado are home to both Black Bears and Mountain Lions.
While hiking in Black Bear territory usually presents less danger compared to Grizzlies, hiking with bear spray is never a bad idea. However, it’s really up to your own discretion and comfort level.
Aside from wildlife, Colorado, like any Mountain West state, is known for its violent afternoon thunderstorms, which are more typical in the warmer summer months than other times of the year.
That said, it’s important to check the local forecast before setting off on any adventure, as lightning strikes are not uncommon in and near mountain ranges across the West. I have personally been knocked to the ground by a strike that hit near me in the past, and I confidently say that it’s an experience you don’t want to live through. This is why I highly recommend checking Mountain Forecast for any high-elevation adventures you may be interested in—especially when climbing a summit.
Finally, know that micro-spikes may be necessary for an early or late season adventure, but micro-spikes are never supposed to be a substitute for conditions that require crampons.
Disclaimer
All information provided on this blog is for informational purposes only and is not intended to be a substitute for information or advice from qualified professionals or managing agencies.
Noah Lang Photography LLC makes no representations or warranties regarding the accuracy or completeness of the information provided here, and readers should use their own discretion, judgement, and seek professional advice where it is appropriate.
Furthermore, Noah Lang Photography LLC shall not be held responsible for any injuries, lost individuals, or legal issues arising from the use of information provided on this website, and if applicable, the above safety disclaimer should be referenced to provide a generic overview of the risks involved.
All said, the content on this blog is for the sole use of Noah Lang Photography LLC, and unauthorized use or reproduction of this content is strictly prohibited.
Disclosure
This post is not sponsored.
However, some of the links in this post are affiliate links, which means that I may earn a small commission if a purchase is made through one of those links. This commission comes at no additional cost to you, and I only recommend products that I personally use and believe will add value to my readers. Thank you for your support, which enables me to continue creating more!
To read the full privacy policy, click here.

About This Blog
Noah Lang Photography, also known as @noahawaii, is 100% reader-supported!
I do not accept guest articles or sponsored content of any kind on my blog, which is why, if you enjoy the outdoor and travel content I create, please consider buying me a coffee!
I appreciate your support, which helps me continue to keep this blog alive!